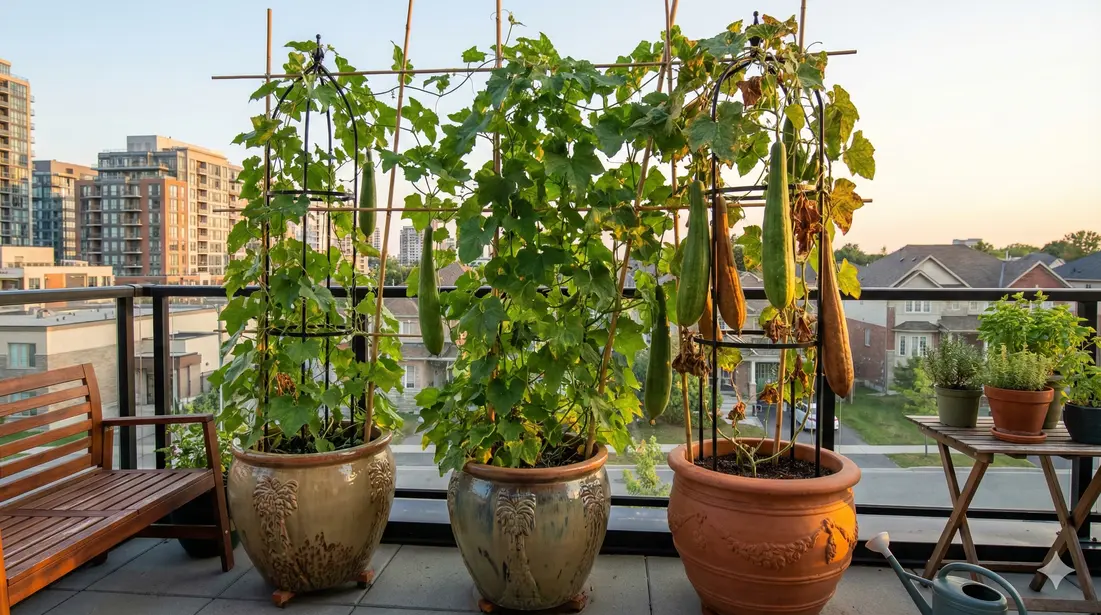
No yard? No problem. I've grown luffa on a third-floor balcony with nothing but a half-barrel planter, a wall trellis, and a lot of watering cans. The harvest was smaller than my in-ground plants, but the sponges were just as good.
Container growing does require more attention than garden beds. You're essentially creating a life support system for a vine that wants to sprawl 30 feet and drink constantly. But for apartment dwellers, renters, or anyone with limited space, it's absolutely doable—and this guide covers everything you need to succeed.
This is a companion guide to our complete seed-to-sponge growing guide. Start there if you want the full picture, or dive in here if you're specifically dealing with limited space.
Understanding Loofah Plants
Before diving into containers, it helps to understand what you're growing. The loofah plant (Luffa aegyptiaca) is a vigorous tropical vine in the Cucurbitaceae family—the same family as squash, cucumbers, and melons. There's also a ridged species called Luffa acutangula, though Luffa aegyptiaca is what most gardeners grow for sponges. Both species produce the fibrous luffa gourds that become natural loofah sponges when dried.
Loofah plants are heat-lovers that originated in tropical regions around the world. They need a long, warm growing season—typically 150-200 frost-free days—which is why container growing appeals to gardeners in cooler climates. You can start loofah seeds indoors, move containers outside after frost danger passes, and bring them into a greenhouse or sunny garage if early fall frost threatens your maturing gourds.
Before You Plant: Timing & Preparation
Success with container loofahs starts well before you fill your pot with soil. Getting the timing right—especially around frost dates and temperature—makes the difference between a bountiful harvest and a disappointing season.
Starting Loofah Seeds
Germination is the first hurdle. Loofah seeds have a tough outer coat that benefits from soaking in warm water for 24-48 hours before planting. Start seeds indoors 4-6 weeks before your last frost date. Use a seed tray or small pots with quality seed-starting mix, plant seeds 1 inch deep, and keep the soil temperature between 75-85°F for best germination rates. Most loofah seeds sprout in 7-14 days under ideal conditions.
Transplanting Seedlings
Transplant loofah seedlings to their permanent container when they have 3-4 true leaves and outdoor temperatures consistently stay above 60°F at night. Handle the roots gently—loofah doesn't love transplanting, but recovers quickly in warm weather. Space multiple plants at least 3-4 feet apart if you're ambitious enough to run several containers, though most balcony growers stick with one plant per large pot.
Weather & Climate Considerations
Temperature and humidity dramatically affect loofah growth. Daytime temperatures of 75-95°F are ideal, with nighttime lows above 60°F. Loofah plants stall below 50°F and die at frost. High humidity encourages growth but also promotes fungal disease—ensure good air circulation around your container. In hot, dry climates, the daily watering challenge intensifies but plants generally thrive. In cool, damp climates, use a south-facing location and consider black plastic mulch to warm the soil.
Recommended Container Growing Supplies
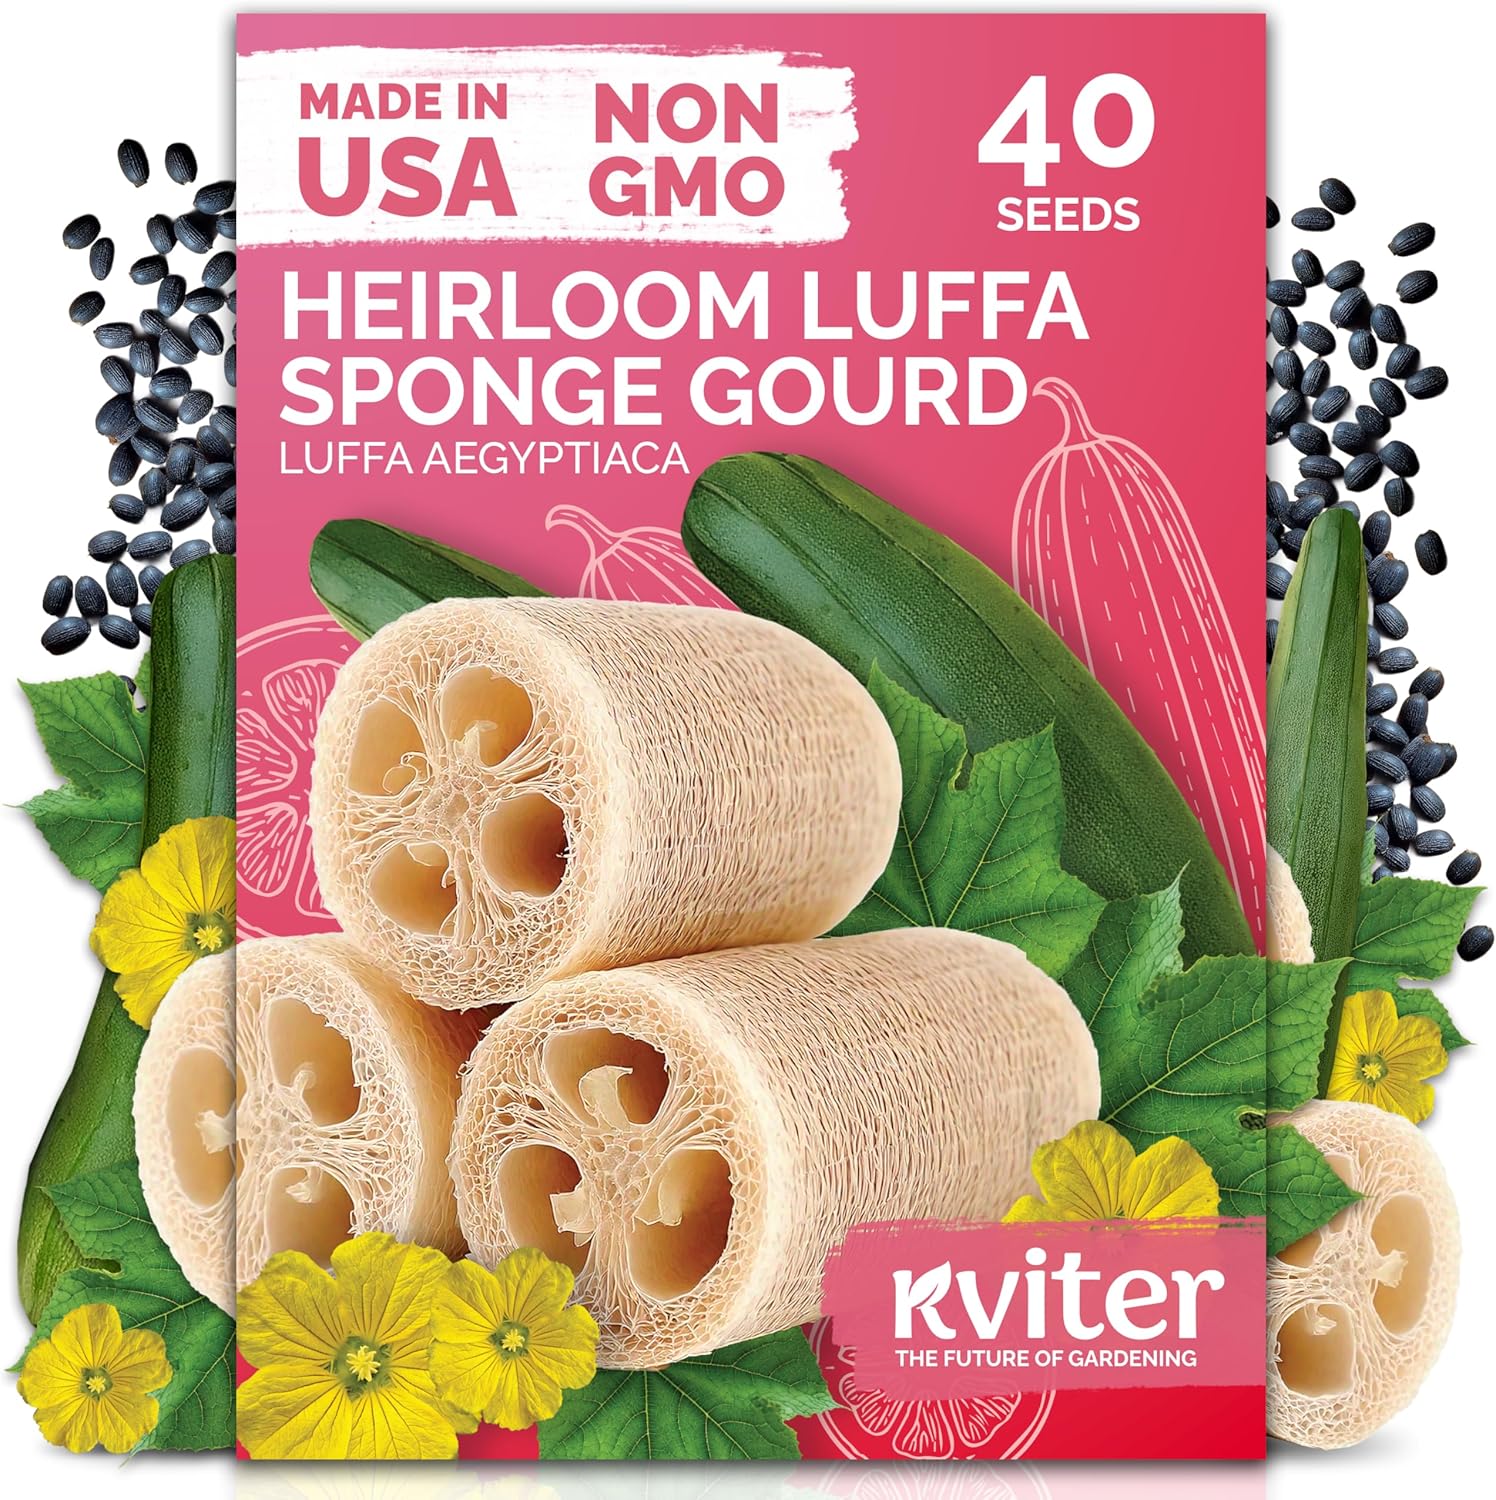
KVITER Heirloom Luffa Seeds (40 Count)
Fast-sprouting non-GMO seeds with 90%+ germination rate. Perfect for container growing with reliable results.
Check Price on Amazon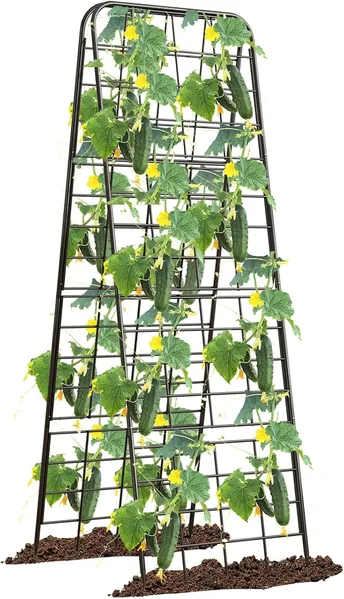
Heavy-Duty Adjustable A-Frame Trellis
Rust-proof metal frame that folds flat for storage. Ideal for container setups with adjustable height and width.
Check Price on AmazonAs an Amazon Associate, we earn from qualifying purchases. See all our container recommendations →
Can You Really Grow Luffa in Containers?
Absolutely. Luffa isn't picky about where its roots live, as long as they have enough room, water, and nutrients. The main trade-off is yield: expect 3-6 sponges per container plant versus 10-15 from an in-ground vine.
The best part about container growing? You control every aspect of your loofah's environment. In a traditional garden, you're at the mercy of your soil quality, drainage issues, and fixed sun exposure. With containers, you position your plant in the sunniest spot on your patio, use the ideal potting mix, and even move the whole setup if conditions change during the season.
The challenges are real but manageable:
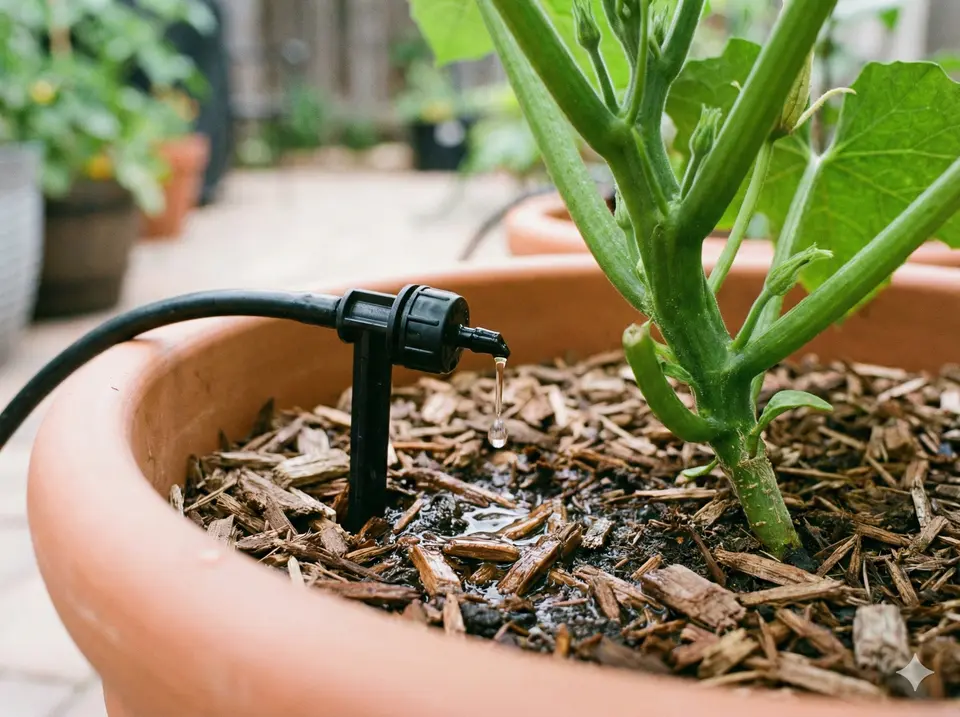
Containers dry out fast. In summer heat, you may need to water twice daily. Drip irrigation on a timer solves this problem entirely—highly recommended for balcony growers.
Small pots = small harvests. Luffa has an extensive root system that needs room to spread. A cramped root ball means fewer flowers, dropped fruit, and smaller sponges.
A mature vine with fruit can weigh 30+ pounds. Wall-mounted trellises work better than freestanding ones on balconies. Plan your support before planting.
Container Size: The Most Important Decision
This is where most container luffa fails. People grab a 5-gallon pot thinking it's "big enough" and wonder why their plant flowers but never sets fruit. Luffa needs a minimum of 15 gallons, preferably 20+.
| Container Size | Root Space | Expected Yield | Verdict |
|---|---|---|---|
| 5-10 gallons | Cramped | 0-2 small sponges | Too small |
| 15 gallons | Adequate | 3-4 sponges | Minimum |
| 20 gallons | Good | 4-6 sponges | Recommended |
| 25-30 gallons | Excellent | 5-8 sponges | Ideal |
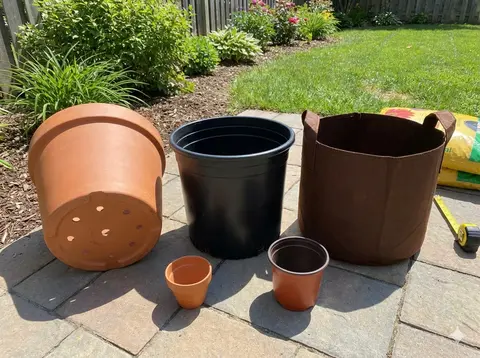
Best Container Types
- Fabric grow bags (20+ gallon) — Excellent drainage, air pruning prevents circling roots, lightweight when empty, affordable. My top recommendation.
- Half-barrel planters — Classic look, 25-30 gallon capacity, stable in wind. Ensure drainage holes exist or drill your own.
- Large plastic pots — Retain moisture longer than fabric (good or bad depending on climate), widely available. Avoid black in hot climates—roots cook.
- Self-watering containers — Built-in reservoir reduces watering frequency. Great for vacations or forgetful waterers. More expensive but worth it.
- No drainage holes: Luffa roots rot in standing water. If your container lacks holes, drill them.
- Dark containers in hot climates: Black pots absorb heat and can cook roots on sunny balconies. Use light colors or wrap in burlap.
- Unstable placement: A 30-pound vine in the wind acts like a sail. Secure containers or place against a wall.
The Right Soil Mix
Garden soil is too heavy for containers—it compacts and drains poorly. You need a light, well-draining potting mix with plenty of organic matter for nutrients.
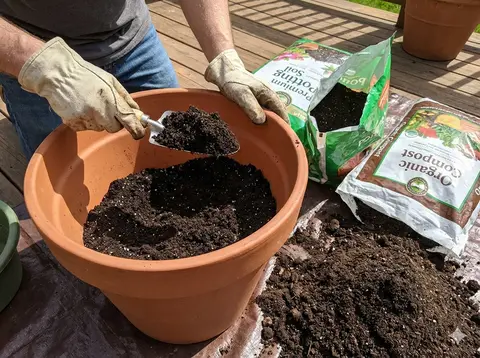
Recommended Mix
- 70% quality potting mix — Look for mixes containing peat or coir, perlite, and compost
- 25% finished compost — Adds nutrients and improves water retention
- 5% perlite — Extra drainage insurance, especially important in rainy climates
Trellis Solutions for Small Spaces
Luffa vines reach 15-30 feet. On a balcony, that vine needs somewhere to go. Plan your trellis system before planting—retrofitting is messy.
Balcony Options
- Wall-mounted trellis: Attach sturdy lattice or wire mesh directly to the wall behind your container. Most secure option.
- Railing trellis: Train vines along the railing, then up netting attached to a higher point. Creates a privacy screen.
- Tension pole system: Floor-to-ceiling poles with horizontal wires. No drilling required, renter-friendly.
Patio Options
- A-frame trellis: Lean against a fence or stand freely. Place container at the base, train vines up both sides.
- Cattle panel arch: Creates a tunnel between two containers. Stunning when covered in vines and hanging gourds.
- Existing structures: Pergolas, fences, and sheds make excellent luffa supports. Just ensure they're sturdy.
- Install before planting: Disturbing roots later stresses the plant.
- Overbuild: A mature vine with fruit is heavier than you expect. Use hardware rated for more weight than you think necessary.
- Train early: Guide young vines onto the trellis before they grab something else.
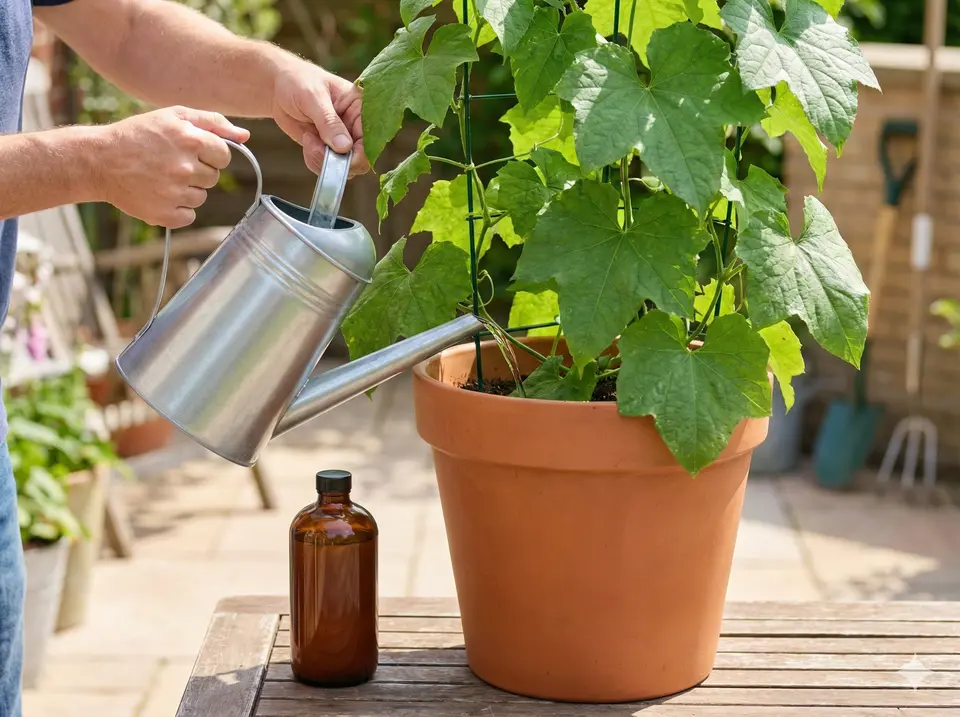
Watering: The Daily Challenge
This is where container growing gets real. Containers dry out fast, especially fabric bags in summer sun. Inconsistent watering causes flower drop, misshapen fruit, and bitter sponges.
| Season | Watering Frequency | Notes |
|---|---|---|
| Spring | Every 2-3 days | Less evaporation, plants still small |
| Summer | Daily, sometimes 2x | Peak water demand during fruiting |
| Fall | Every 2-3 days | Reduce as plant matures and temps cool |
How to Check Moisture
Stick your finger 2 inches into the soil. If it feels dry, water thoroughly until liquid drains from the bottom. If still moist, check again tomorrow. Simple, reliable, free.
Irrigation Solutions
- Drip irrigation on timer: Set it and forget it. The most reliable method for consistent moisture. Worth every penny for balcony growers.
- Self-watering containers: Built-in reservoir extends time between watering. Good for busy schedules.
- Watering globes: Supplement hand watering, not a replacement. Good for short trips.
- Mulch: 2-3 inches of straw or wood chips dramatically reduces evaporation. Essential in hot climates.
Fertilizing: Feed Often
Container plants need more frequent feeding than garden plants. Every time you water, nutrients wash out the drainage holes. For ongoing plant care guidance, see our complete care guide.
Fertilizing Schedule
- At planting: Mix slow-release granules into soil (follow package rates)
- Weekly: Apply diluted liquid fertilizer (half-strength recommended)
- Monthly: Top-dress with compost or worm castings
Nutrient Timing
- Early growth (vining): Higher nitrogen for leaf and vine development. Use balanced 10-10-10 or fish emulsion.
- Flowering/fruiting: Reduce nitrogen, increase phosphorus and potassium. Switch to tomato fertilizer or 5-10-10. Check our fertilizer recommendations.
- Yellow lower leaves: Nitrogen deficiency—increase feeding
- Lots of leaves, no flowers: Too much nitrogen—switch to bloom formula
- Brown leaf edges: Salt buildup—flush soil with plain water
Pollination on Balconies
High-rise balconies often lack pollinators. If bees aren't visiting, you'll need to pollinate by hand—otherwise, female flowers wither without setting fruit. Pollination is simply the transfer of pollen from male flowers to female flowers, and it's essential for fruit development in all members of the squash and cucumber family. For more details, see our pollination troubleshooting guide.
Some container growers plant bee-attracting flowers like marigolds or zinnias in nearby pots to increase their chances of natural pollination. Others rely entirely on hand pollination—it takes just a few minutes each morning during peak flowering and guarantees results.
Identifying Flowers
- Male flowers: Appear first, grow in clusters on long stems, have visible pollen in the center
- Female flowers: Appear later, grow singly, have a small bulge (immature gourd) behind the petals
Hand Pollination Steps
- Timing: Pollinate in morning when flowers are fresh and pollen is viable
- Harvest pollen: Pick a male flower and remove petals to expose the pollen-covered center
- Transfer: Gently brush pollen onto the stigma (center) of an open female flower
- Repeat: One male flower can pollinate 2-3 females
What to Expect at Harvest
Container luffa produces fewer fruits than ground plants, but quality is identical. A well-cared-for container plant yields 3-6 full-sized sponges—more than enough for personal use or small gifts.
Realistic Expectations
- Timeline: 150-200 days from seed to harvest (same as ground plants)
- Yield: 3-6 sponges per plant in 20+ gallon container
- Size: Full-sized sponges if nutrition and water are consistent
- Quality: Identical to ground-grown—fiber density, durability, everything
Ready to harvest when the skin turns brown and papery, the gourd feels light, and seeds rattle inside when shaken. See our harvest timing guide for detailed indicators.
Processing Your Container-Grown Loofahs
Once harvested, your loofahs need processing before use. Peel away the dried skin (it comes off easily when fully dry), shake out the seeds, and rinse the fibrous interior. For white, sanitized sponges, soak in a dilute bleach solution (1 tablespoon per gallon of water) for 10-15 minutes, then rinse thoroughly and dry in the sun. See our complete processing guide for step-by-step instructions.
What to Do With Your Harvest
A single container loofah plant provides enough sponges for your household with extras to spare. Full-length loofahs (12-18 inches) can be cut into smaller pieces for different uses:
- Shower and bath: The classic use—natural loofah sponges exfoliate skin gently while creating rich lather with any soap or body wash
- Kitchen scrubbers: Cut sections work excellently for dishes and cleaning surfaces without scratching. They're naturally antibacterial when dried between uses
- Soap making: Embed loofah slices in homemade soap bars for exfoliating soap gifts—a popular craft project
- Gifts: Homegrown loofahs make thoughtful, eco-friendly gifts that people genuinely appreciate
The beauty of growing your own is knowing exactly where your loofah sponge came from—no plastic packaging, no unknown chemicals, just natural fiber you grew with your own hands.
Troubleshooting Container Problems
Plant flowers but fruit drops off
Usually a pollination problem—hand pollinate if bees aren't visiting. Can also be caused by inconsistent watering (drought stress drops flowers) or pot too small (root-bound plants can't support fruit development).
Leaves wilting despite wet soil
Likely root rot from overwatering or poor drainage. Check that drainage holes aren't blocked. If soil stays soggy, repot with better-draining mix or add more perlite.
Small, misshapen fruit
Inconsistent watering during fruit development. Establish a reliable watering schedule. Can also result from inadequate fertilizer or container too small.
Lots of vines but no flowers
Too much nitrogen fertilizer promotes foliage over flowering. Switch to a bloom formula (low N, higher P and K). Also ensure plant gets 6+ hours of direct sunlight—shade inhibits flowering.
Plant looks healthy but produces only 1-2 small sponges
Container too small. Luffa can look fine above ground while being severely root-bound below. Next year, use a 20+ gallon container minimum.