Drying is the most critical step in transforming your harvested loofahs from fresh gourds into usable natural sponges. Proper drying prevents mold, ensures long-lasting sponges, and makes the fibrous interior easier to clean and process. Rush this step, and you'll end up with moldy, unusable sponges. Do it right, and you'll have premium-quality loofahs that last for months.
This comprehensive guide covers everything you need to know about drying loofah sponges, from choosing the right method to troubleshooting common problems. Whether you're working with freshly harvested green loofahs or vine-dried brown ones, these techniques will help you achieve perfectly cured sponges every time.
Why Proper Drying Matters
Understanding the importance of correct drying techniques will help you avoid costly mistakes and ensure your harvest doesn't go to waste.
- Prevents mold and rot: Complete drying eliminates moisture that causes decomposition
- Easier processing: Dry skin peels off easily; seeds shake out cleanly
- Better texture: Proper curing creates the ideal sponge firmness
- Longer shelf life: Well-dried loofahs can be stored for years
- Natural bleaching: Sun exposure lightens the fibers naturally
- Mold growth: Insufficient drying creates perfect conditions for black mold
- Musty odor: Trapped moisture causes permanent smell issues
- Structural weakness: Rushing drying can make fibers brittle
- Processing difficulties: Damp skin doesn't peel; seeds stick inside
- Wasted harvest: Entire batch can be lost to rot
Drying Methods Compared
There are three main methods for drying loofah sponges, each with advantages depending on your climate, available space, and timeline.
Timeline: 1-2 weeks in optimal conditions
Place harvested loofahs in direct sunlight on racks, turning daily. The sun's heat and UV rays naturally dry and bleach the sponges.
- Best for: Dry climates with consistent sunshine (zones 7-10)
- Advantages: Fastest method; natural bleaching; kills bacteria
- Disadvantages: Weather-dependent; requires daily monitoring; can make fibers brittle if overdone
- Setup: Use elevated drying racks with good airflow underneath
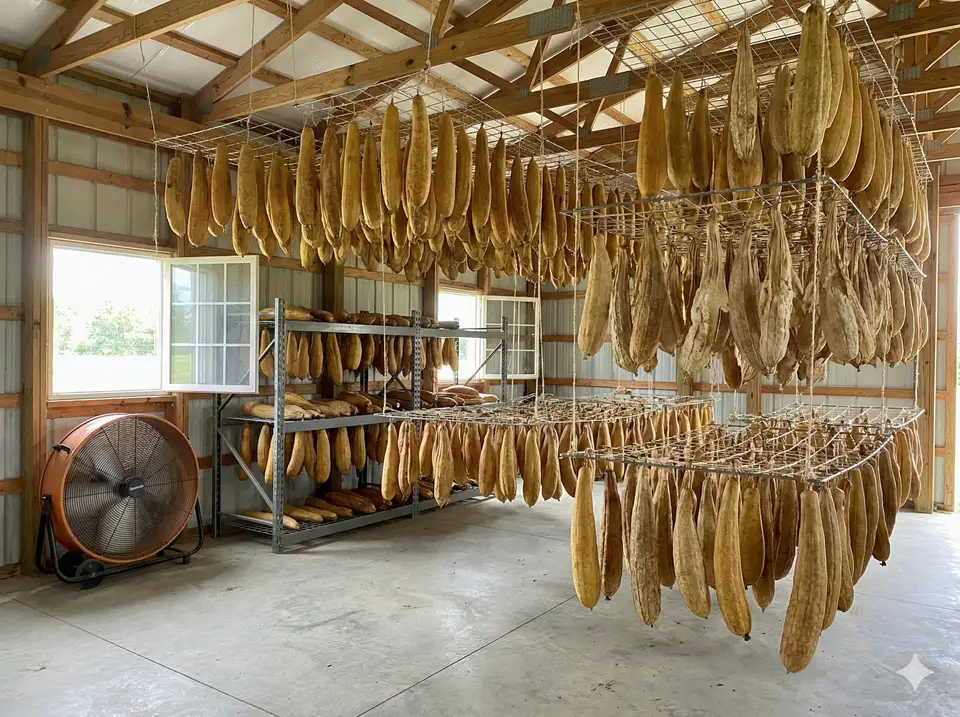
Timeline: 3-4 weeks depending on humidity
Hang loofahs in a well-ventilated indoor space with low humidity and good air circulation.
- Best for: Humid climates; unpredictable weather; large harvests
- Advantages: Weather-proof; consistent results; less monitoring needed
- Disadvantages: Slower drying; requires indoor space; may need fans
- Setup: Use garage, attic, or basement with dehumidifier and fan
Timeline: 2-3 weeks with good airflow
Stack loofahs on multi-tier mesh drying racks, either indoors with fans or outdoors in partial shade.
- Best for: Large harvests; limited floor space; mixed conditions
- Advantages: Space-efficient; versatile; can move indoors during rain
- Disadvantages: Requires rack investment; still needs airflow management
- Setup: Position racks for maximum airflow; rotate shelves daily
- Hybrid approach: Start with sun drying for 3-5 days, then finish indoors to prevent over-drying
- Airflow is key: Use fans to keep air moving; stagnant air promotes mold
- Spacing matters: Leave 2-3 inches between loofahs for proper air circulation
- Turn daily: Rotate and flip loofahs to ensure even drying on all sides
- Start early: Begin drying immediately after harvest to prevent moisture buildup
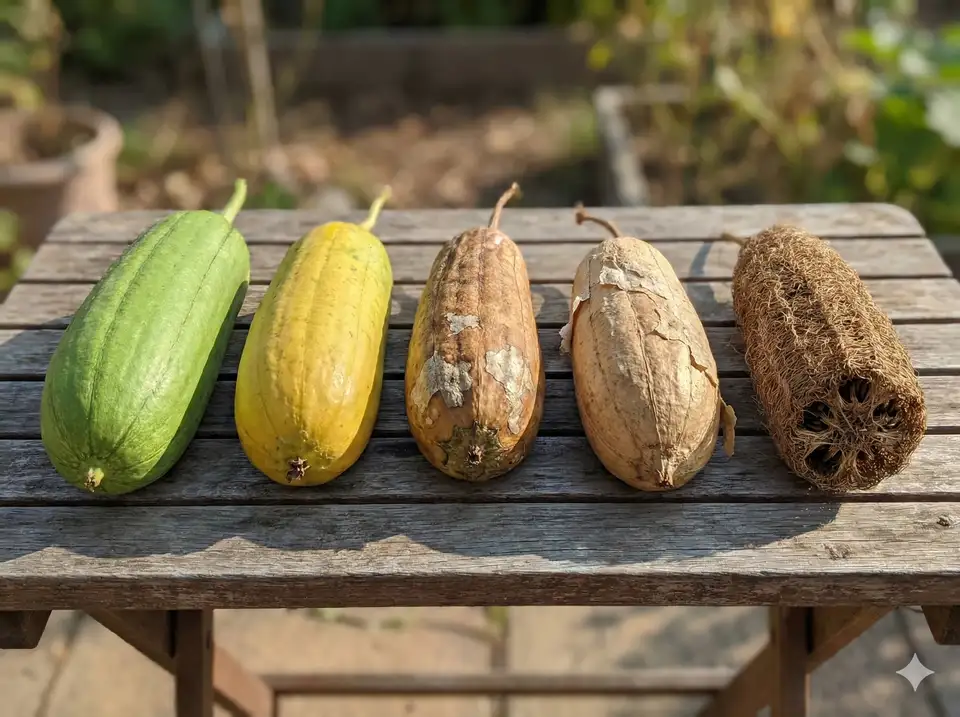
Drying Timeline & Stages
Understanding the stages of loofah drying helps you monitor progress and know when your sponges are ready for processing.
| Stage | Timeline | What's Happening | What You'll See |
|---|---|---|---|
| Fresh Harvest | Day 0 | Maximum moisture content; skin still green or yellow | Heavy weight; smooth skin; no rattling |
| Initial Drying | Days 1-5 | Surface moisture evaporates; skin begins to dry | Skin wrinkles; color darkens; weight decreases |
| Mid-Stage | Days 6-14 | Internal moisture releases; skin becomes papery | Skin peels easily; slight rattling; brown color |
| Late Stage | Days 15-21 | Deep drying; seeds fully separate from flesh | Very light weight; loud rattling; skin flakes off |
| Fully Cured | Days 21-28 | All moisture gone; sponge fully stabilized | Rock hard; completely brown; paper-light |
Grow Your Own Loofah Next Season
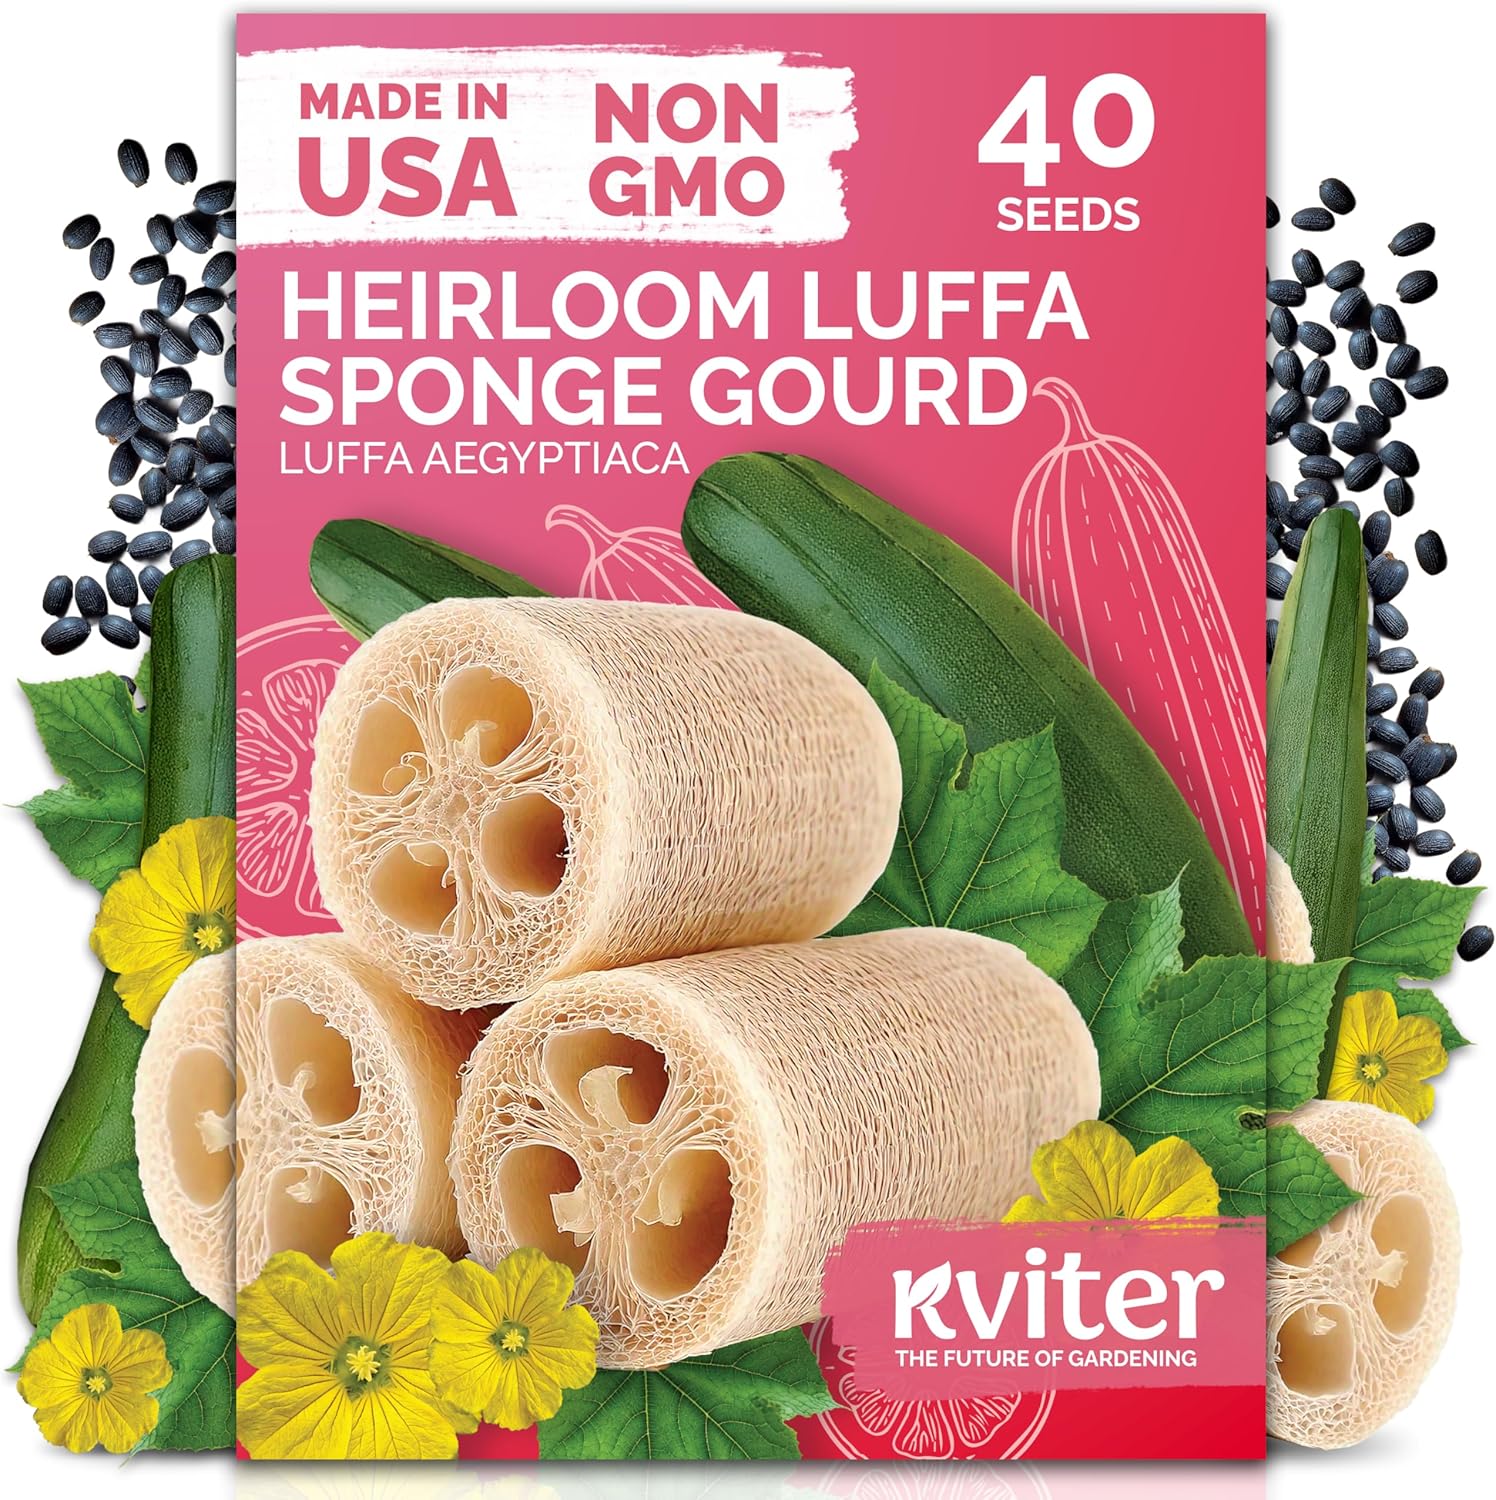
KVITER Heirloom Luffa Seeds (40 Count)
Fast-sprouting non-GMO seeds with 90%+ germination - grow your own natural sponges in one season
Buy on Amazon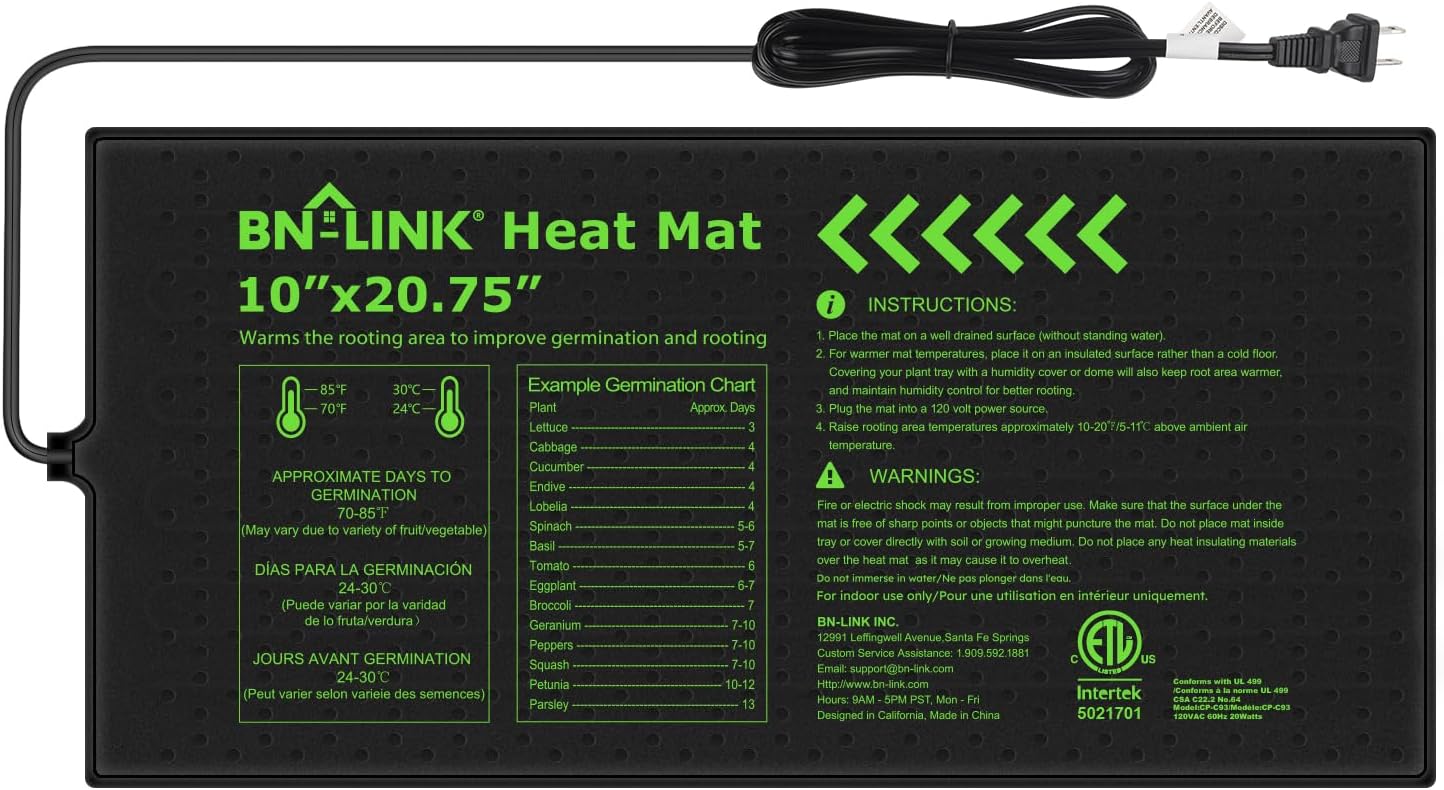
BN-LINK Seedling Heat Mat for Faster Germination
Cuts loofah germination time in half - waterproof design maintains optimal 75-85°F soil temperature
Buy on AmazonAs an Amazon Associate, we earn from qualifying purchases.
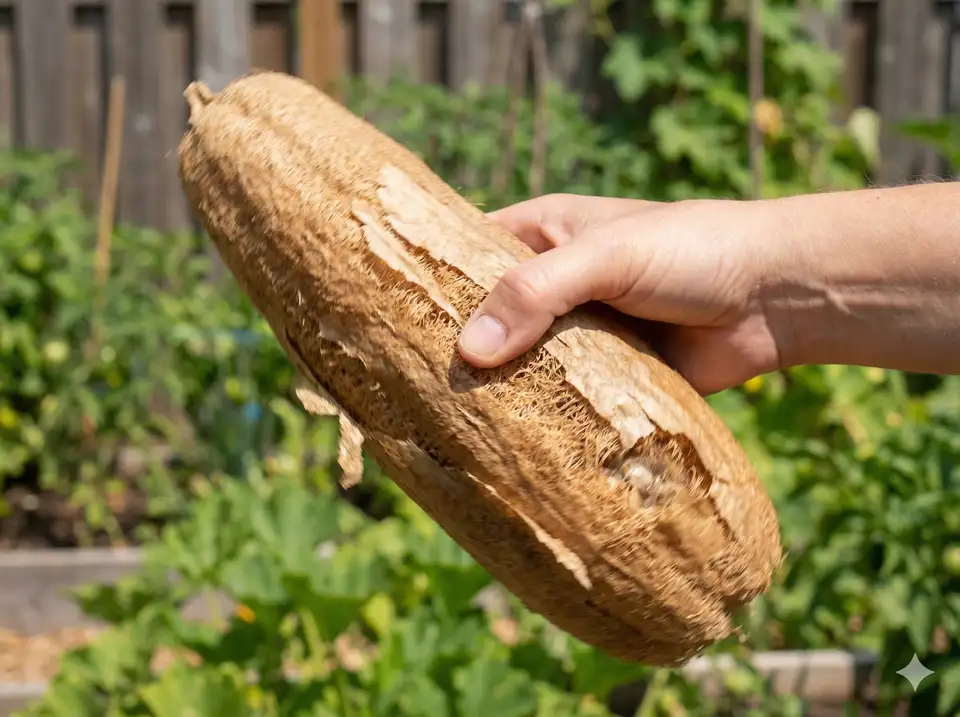
Signs Your Loofah is Fully Dry
Knowing when your loofahs are completely dry is crucial. Harvesting too early can lead to mold during storage.
- Weight test: Loofah feels extremely lightweight, almost hollow
- Rattle test: Seeds rattle loudly and freely when shaken
- Hardness test: Shell is completely hard with no soft or flexible spots
- Color test: Skin is uniformly brown/tan with no green patches
- Skin test: Outer skin peels away easily like paper
- Squeeze test: No moisture releases when squeezed firmly
- Smell test: No musty or damp odor present
Common Drying Problems & Solutions
Even experienced growers encounter drying challenges. Here's how to troubleshoot and fix the most common issues.
Symptoms: Black, white, or green fuzzy spots; musty smell; soft areas
Causes: High humidity; poor airflow; loofahs touching; inadequate ventilation
Solutions:
- Remove affected loofahs immediately to prevent spread
- Increase airflow with fans; use dehumidifier if indoors
- Space loofahs farther apart (minimum 3 inches)
- Move to sunlight temporarily to kill mold spores
- Consider discarding severely molded specimens
Symptoms: Loofahs still soft after 3+ weeks; skin won't peel; no progress
Causes: High environmental humidity; rainy weather; poor air circulation
Solutions:
- Move indoors to climate-controlled space with dehumidifier
- Use multiple fans to create cross-ventilation
- Place in front of heating vent (not too close)
- Wait for sunny days and move outdoors temporarily
- Be patient - it may take 4-6 weeks in very humid areas
Symptoms: Sponge fibers crumble; breaks apart easily; extremely fragile
Causes: Excessive sun exposure; over-drying; low humidity
Solutions:
- Move to shade or indoors immediately
- Slightly mist with water to restore some flexibility (carefully)
- Use partial shade for remaining loofahs
- Shorten drying time for future batches
- Store dried loofahs with slight humidity to maintain flexibility
If some areas are damp while others are bone-dry, you're not rotating enough. Flip and rotate loofahs daily, ensure they're on elevated racks (never solid surfaces), and check that airflow reaches all sides equally.
Storage After Drying
Once fully dried, proper storage ensures your loofahs stay in perfect condition until you're ready to process and clean them.
For loofahs you plan to process within a few months:
- Location: Cool, dry place like garage, basement, or closet
- Container: Cardboard boxes, paper bags, or breathable bins (not airtight)
- Conditions: Low humidity (below 50%); good ventilation; away from moisture
- Arrangement: Can stack loosely; check monthly for any mold
- Temperature: Room temperature is fine; avoid extreme heat or cold
For extended storage of unprocessed dried loofahs:
- Location: Climate-controlled indoor space; avoid garages in humid climates
- Container: Ventilated plastic bins with mesh lids; add silica gel packets
- Pest prevention: Check for insect damage; bay leaves repel pests naturally
- Conditions: Humidity below 40%; consistent cool temperature
- Monitoring: Inspect every 2-3 months; rotate to prevent compression damage
For processed sponges, see our complete guide to storing loofah sponges.
- Label everything: Write harvest date on storage containers to track age
- Never use plastic bags: Airtight storage traps any residual moisture and causes mold
- Avoid basements in humid climates: They're too damp for long-term loofah storage
- Keep seeds inside: Don't remove seeds until ready to process; they protect the sponge
- Stack carefully: Don't crush loofahs under heavy weight; fibers can compress permanently
Climate-Specific Drying Tips
Your local climate significantly affects drying methods and timelines. Adjust your approach based on where you live.
Advantages: Ideal drying conditions; very fast; low mold risk
Best method: Sun drying with partial shade during hottest hours
- Drying time: 1-2 weeks
- Watch for over-drying; move to shade if fibers become too brittle
- Early morning and late afternoon sun is perfect
- No need for fans or dehumidifiers
Challenges: Slow drying; high mold risk; unpredictable weather
Best method: Indoor air drying with dehumidifier and fans
- Drying time: 3-6 weeks
- Use dehumidifier to keep humidity below 50%
- Multiple fans for constant air movement essential
- Check daily for mold; spacing critical
- Take advantage of any sunny, dry days for outdoor boost
Challenges: Short growing season; harvest often coincides with cold weather
Best method: Indoor drying near heat source
- Drying time: 2-4 weeks
- Use heated space (furnace room, near wood stove)
- Dry indoor air in winter actually helps
- Avoid placing too close to heat - can make fibers brittle
- Often harvest before frost while green; drying still works
What to Do After Drying
Once your loofahs are completely dry, you're ready for the next exciting phase: processing them into usable sponges.
- Peel the skin: Remove dried outer shell (it should come off easily)
- Extract seeds: Shake out or cut off one end to remove all seeds
- Clean the sponge: Soak in water to remove sap and plant matter
- Optional bleaching: Use natural bleaching methods to lighten color
- Final drying: Let cleaned sponges dry completely again
- Cut and trim: Shape sponges to desired sizes
- Store properly: Follow our loofah storage guide
For detailed instructions, see our complete guide to processing loofah sponges.