Here's something nobody tells you about loofah: the hard part isn't growing it—it's being patient enough to let it do its thing. Once transplanted into warm soil with good support, loofah becomes almost aggressively self-sufficient. Your job is to keep it watered, fed, and out of its own way.
That said, there's a difference between a plant that survives and a plant that produces 20+ beautiful gourds. This guide covers everything you need to do—and more importantly, what not to do—for maximum harvest.
Essential Plant Care Products
Twira Heavy-Duty Metal Garden Arch Trellis (7.9FT)
Rust-proof galvanized steel supports 100+ lbs of vines and fruit. Essential for proper loofah plant care.
Check Price on Amazon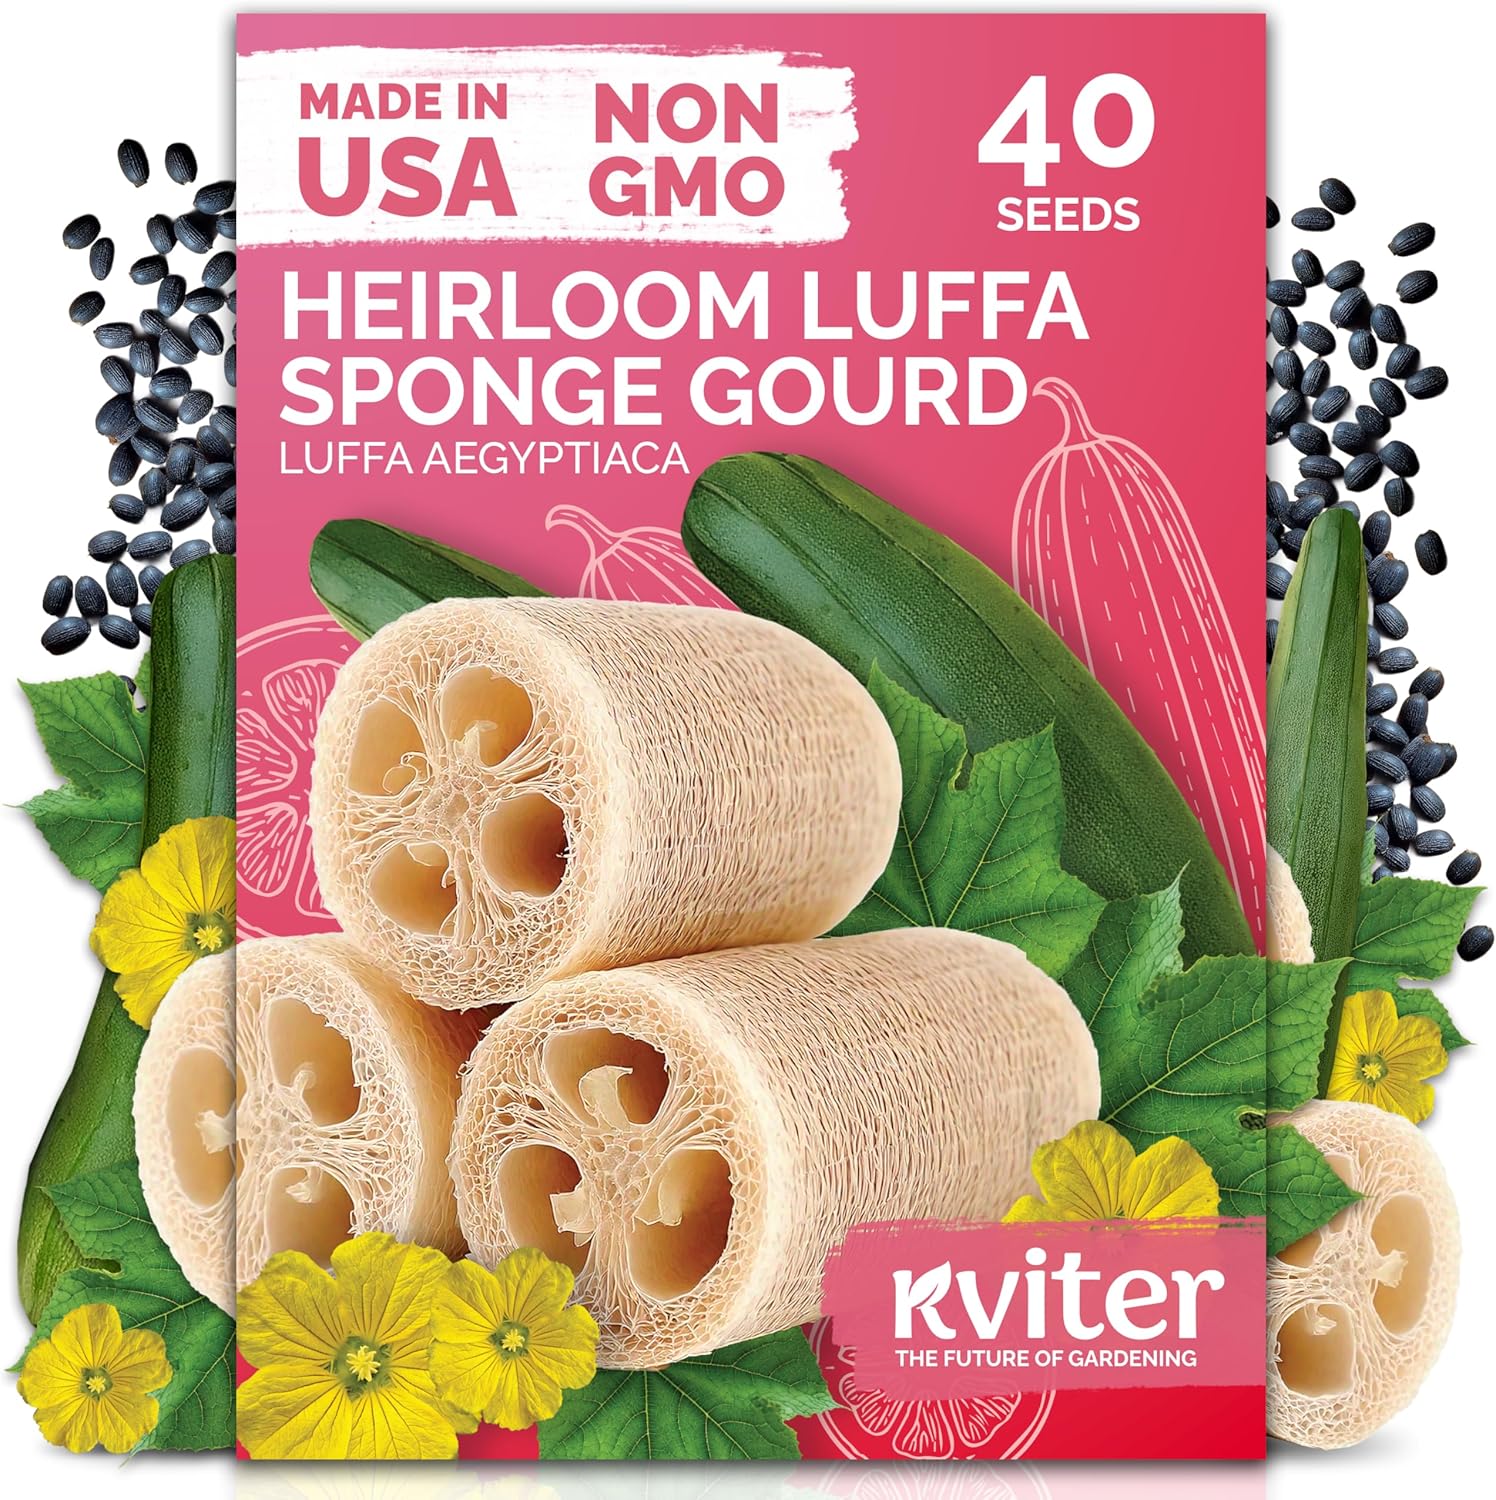
KVITER Heirloom Luffa Seeds (40 Count)
Fast-sprouting non-GMO seeds with 90%+ germination rate. Perfect for beginners wanting reliable results.
Check Price on AmazonAs an Amazon Associate, we earn from qualifying purchases. See all our product recommendations →
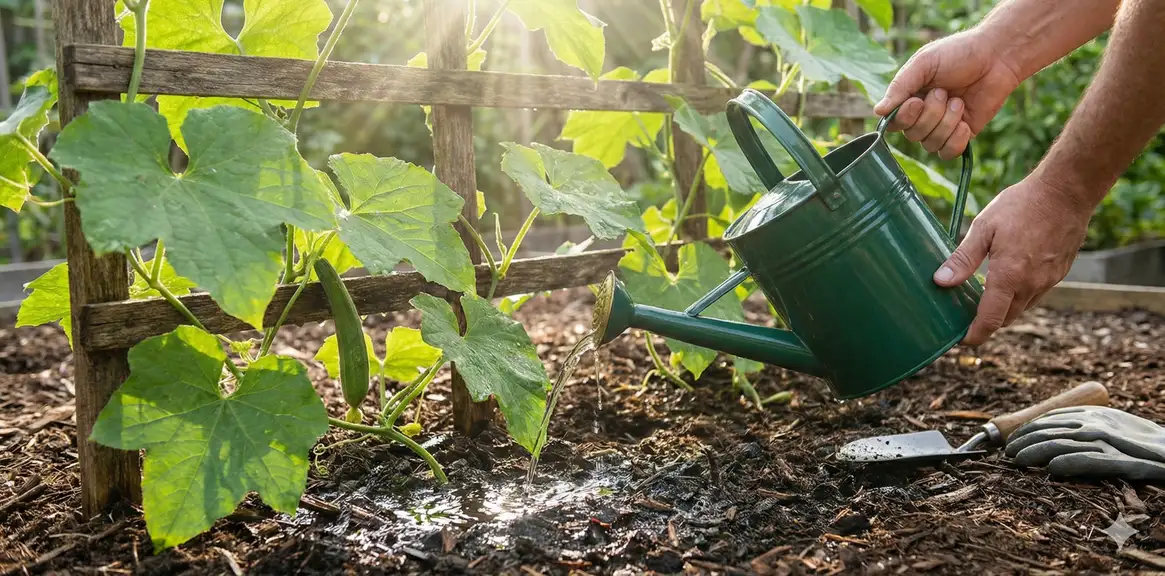
Watering: The Most Important Care Task
If you do nothing else right, get watering right. Loofah is 80% water and transpires heavily through its massive leaves. Consistent moisture is the difference between plump gourds and stunted disappointments.
How Much Water?
The standard recommendation is 1-2 inches per week, but that number varies dramatically based on conditions:
| Condition | Water Needed | Frequency |
|---|---|---|
| Cool spring (under 75°F) | 1" weekly | Every 3-4 days |
| Warm summer (75-85°F) | 1.5-2" weekly | Every 2-3 days |
| Hot summer (85°F+) | 2-3" weekly | Daily or every other day |
| During fruit set | 2" weekly minimum | Consistent schedule |
| Containers | Check daily | When top 2" dry |
Watering Best Practices
Morning watering gives leaves time to dry before evening, reducing fungal disease risk. If morning isn't possible, early afternoon works. Avoid evening watering when you can.
Direct water to the root zone using drip irrigation, soaker hoses, or careful hand watering. Wet leaves invite powdery mildew. If you must overhead water, do it early so leaves dry quickly.
Light daily sprinkles create shallow roots. Instead, soak the soil deeply every few days. Roots will chase water downward, making plants more drought-resilient and stable.
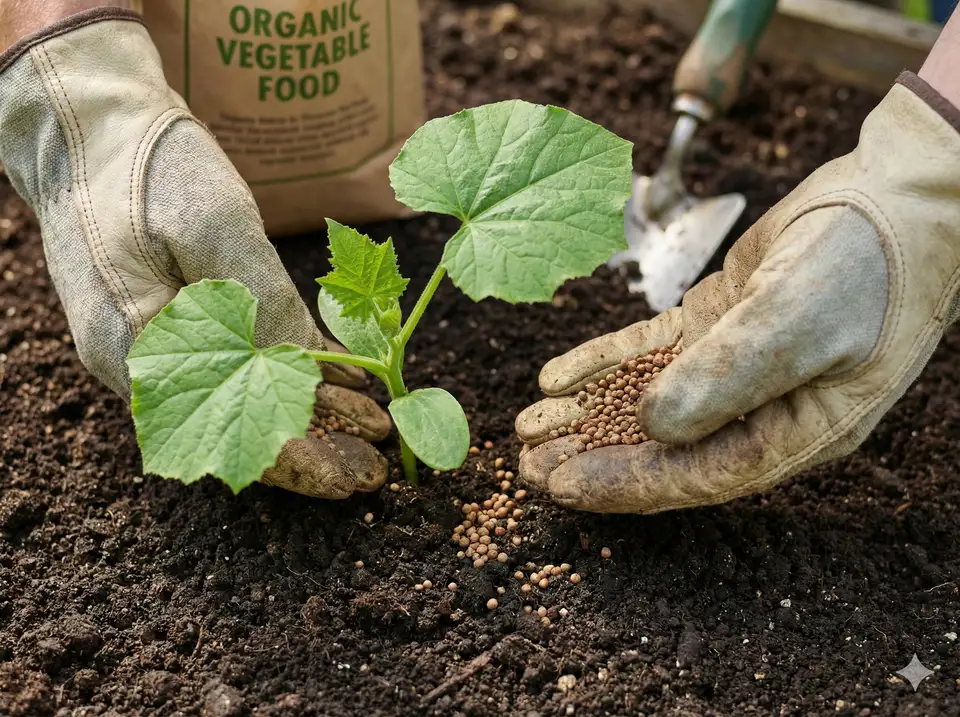
Feeding Schedule: What Loofah Craves
Loofah is a heavy feeder. Those massive vines and numerous gourds require serious nutrition. Underfed plants still grow, but they produce fewer, smaller gourds with inferior fiber quality.
What to Feed
Loofah needs different nutrients at different growth stages:
- Early growth (transplant to flowering): Higher nitrogen for leaf and vine development. Use balanced 10-10-10 or slightly nitrogen-heavy fertilizer.
- Flowering and fruit set: Shift to phosphorus-heavy formula (5-10-10 or tomato fertilizer) to encourage blooms and fruit.
- Mid-season onward: Return to balanced feeding. Potassium supports overall plant health.
Feeding Schedule
| Timing | What to Apply | Method |
|---|---|---|
| At transplant | Compost worked into soil + balanced fertilizer | Mix into planting hole |
| 2-3 weeks after transplant | Balanced liquid fertilizer (10-10-10) | Drench around base |
| Every 2-3 weeks until flowering | Balanced fertilizer | Side dress or liquid feed |
| At first flowers | High-phosphorus fertilizer | Switch formula |
| Every 2-3 weeks during fruiting | Balanced fertilizer + calcium | Continue regular schedule |
| Late season (last month) | Stop feeding | Let plants focus on maturing fruit |
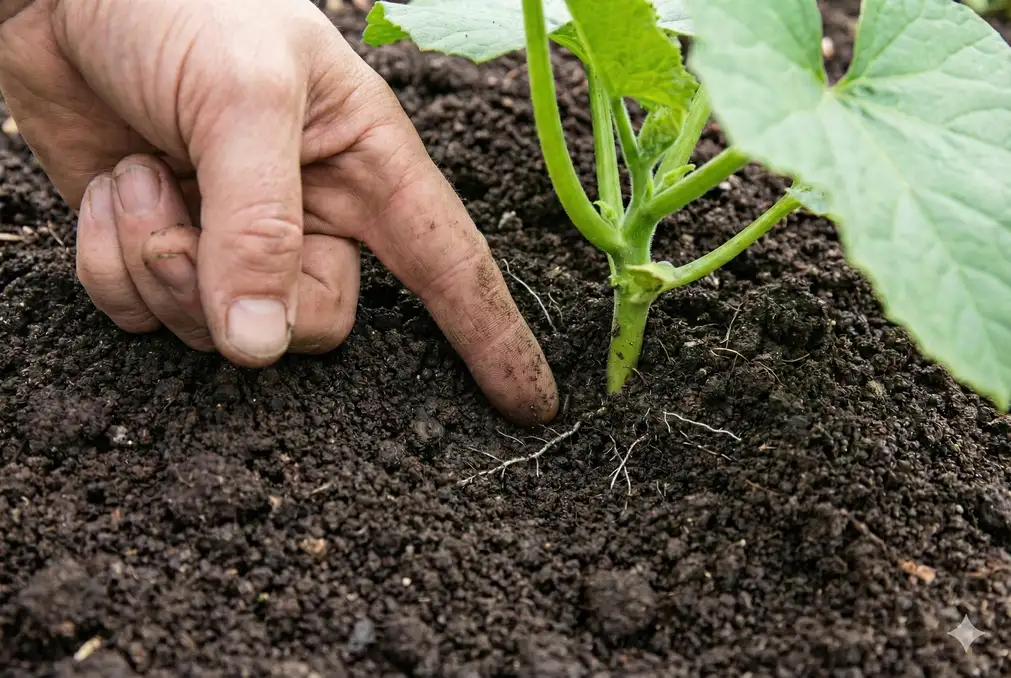
Vine Training: Guide, Don't Force
Loofah vines know how to climb—they've been doing it for thousands of years. Your job isn't to direct every tendril, but to give them a good start and get out of the way.
Early Training (First Few Weeks)
Young loofah plants need help finding the trellis:
- Position the main stem near your trellis base
- Loosely tie the stem to the trellis using soft twine or plant clips
- Guide the first few tendrils toward the trellis surface
- Once tendrils grip the trellis, remove ties—they'll hold themselves
Mid-Season Management
As vines grow, they'll send shoots in all directions. You have two options:
- Let it jungle: Easier, but vines may escape the trellis and sprawl on the ground
- Light guidance: Redirect wayward vines back toward the trellis every few days
Most growers choose light guidance. Check your vines every few days and tuck wandering growth back onto the trellis. Don't force vines into unnatural positions—gentle redirection is enough.
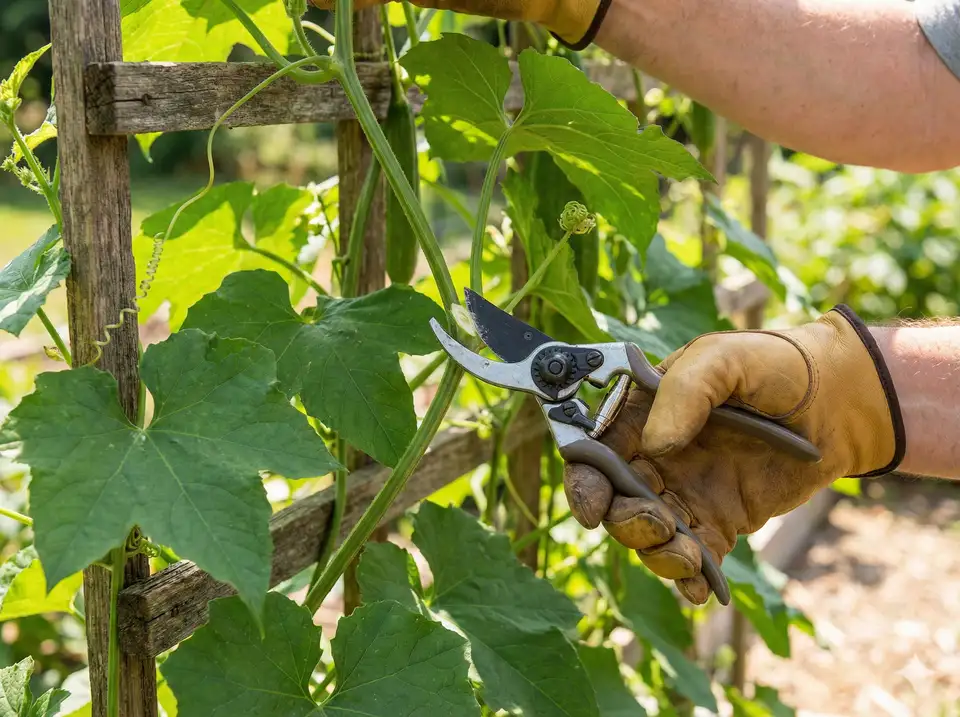
Pruning: Less Is More
Here's controversial advice: don't prune loofah unless you have a reason. Unlike tomatoes or melons, loofah doesn't benefit from heavy pruning. Excessive cutting removes potential fruit sites and stresses the plant.
When Pruning Makes Sense
- Damaged or diseased leaves: Remove immediately to prevent spread
- Ground-touching growth: Trim vines dragging on soil to prevent disease
- Late-season flowers: In short-season areas, removing late blooms directs energy to existing fruit
- Extreme overcrowding: If air circulation is severely restricted, thin some foliage
What NOT to Prune
- Healthy side shoots (they produce fruit)
- Leaves near developing gourds (they feed the fruit)
- Growing tips (let vines reach their potential)
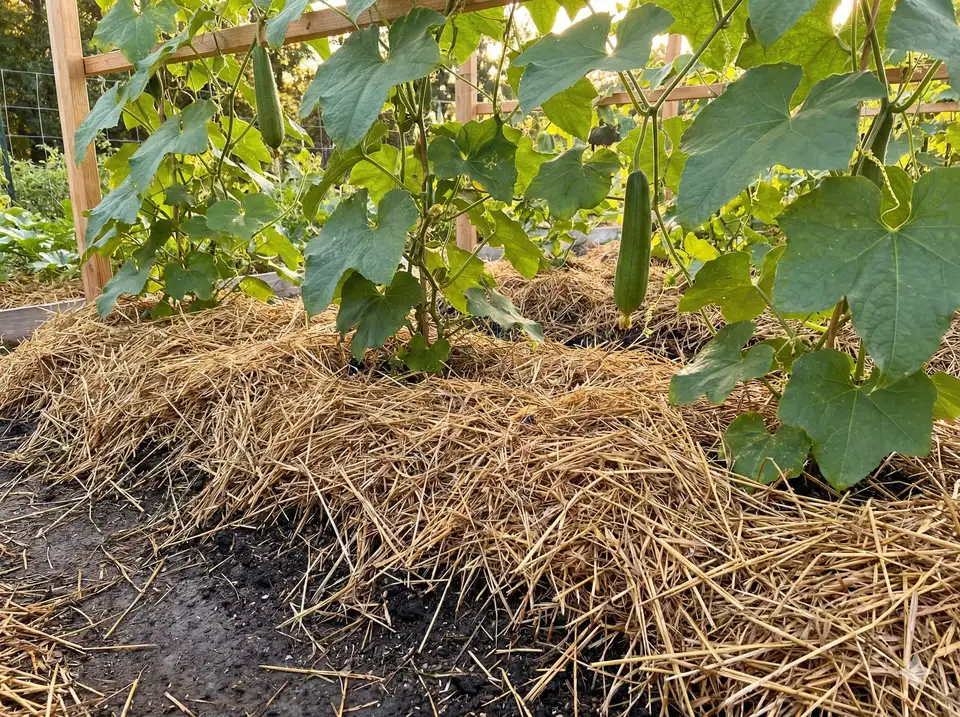
Mulching: Your Secret Weapon
A good mulch layer does five jobs at once:
- Conserves moisture: Less watering needed
- Suppresses weeds: Less competition for nutrients
- Regulates soil temperature: Keeps roots cool in summer heat
- Prevents disease splash: Soil-borne pathogens can't splash onto leaves
- Adds organic matter: Breaks down into plant food
Apply 2-3 inches of organic mulch (straw, wood chips, shredded leaves) around plants after transplanting. Keep mulch a few inches away from stems to prevent rot. Replenish as needed throughout the season.
Monitoring Plant Health
Walk through your loofah patch at least twice a week. Look for:
- Leaf color: Should be deep green. Yellow leaves indicate nutrient deficiency or overwatering.
- Leaf condition: Check for spots, holes, or powdery coating (disease signs).
- Pest presence: Look under leaves for aphids, cucumber beetles, or squash bugs.
- Flower activity: Are bees visiting? Are female flowers being pollinated?
- Fruit development: Are gourds growing steadily, or stalling?
- Vine vigor: Active new growth indicates healthy plants.
Catching problems early is always easier than treating advanced issues. A weekly walk-through takes 5 minutes and saves hours of damage control later.
Monthly Care Checklist
| Month | Priority Tasks |
|---|---|
| May-June | Transplant after frost, establish watering routine, initial fertilizer, guide young vines to trellis |
| July | Increase watering as heat rises, continue fertilizing, manage rapid vine growth, watch for pests |
| August | Peak flowering—ensure pollination, water consistently, switch to bloom fertilizer |
| September | Support developing gourds, maintain watering, begin reducing fertilizer, remove late flowers (zones 5-7) |
| October+ | Monitor gourds for dryness, harvest when ready, prepare for frost |
Troubleshooting Common Care Problems
Leaves wilting even though soil is moist
Midday wilt on hot days is normal—leaves can't transpire fast enough to keep up with evaporation. They should recover by evening. If wilting persists, check for root damage (pests, disease) or waterlogged soil causing root rot.
Yellow leaves throughout plant
Usually indicates nitrogen deficiency or overwatering. Check soil drainage and adjust watering if soggy. If drainage is fine, apply a nitrogen-rich fertilizer. Some yellowing of oldest leaves is normal as plants redirect nutrients to growing parts.
Lots of flowers but no fruit
Pollination issue. Loofah produces separate male and female flowers. Male flowers appear first and are normal—wait for females (have small fruit behind the bloom). If females aren't setting fruit, hand pollinate or encourage bees with companion flowers.
Gourds staying small or rotting
Incomplete pollination causes small, misshapen fruit that often aborts. Water stress during fruit development also stunts gourds. Ensure consistent moisture and adequate pollination for full-sized fruit.
Powdery white coating on leaves
Powdery mildew—common in humid conditions with poor air circulation. Improve airflow, water at soil level (not on leaves), and treat with neem oil or potassium bicarbonate spray. Remove severely affected leaves.