Timing your loofah harvest correctly is the difference between beautiful, strong sponges and disappointing, mushy failures. After months of growing, this final step determines whether all that effort pays off.
Harvest too early, and the fiber isn't developed—you'll get soft, weak sponges that fall apart. Wait too long, and you risk frost damage or mold. This guide shows you exactly how to identify perfectly ripe loofah and what to do once you pick them. For the complete process after harvesting, see our loofah processing guide.
Recommended Growing Supplies
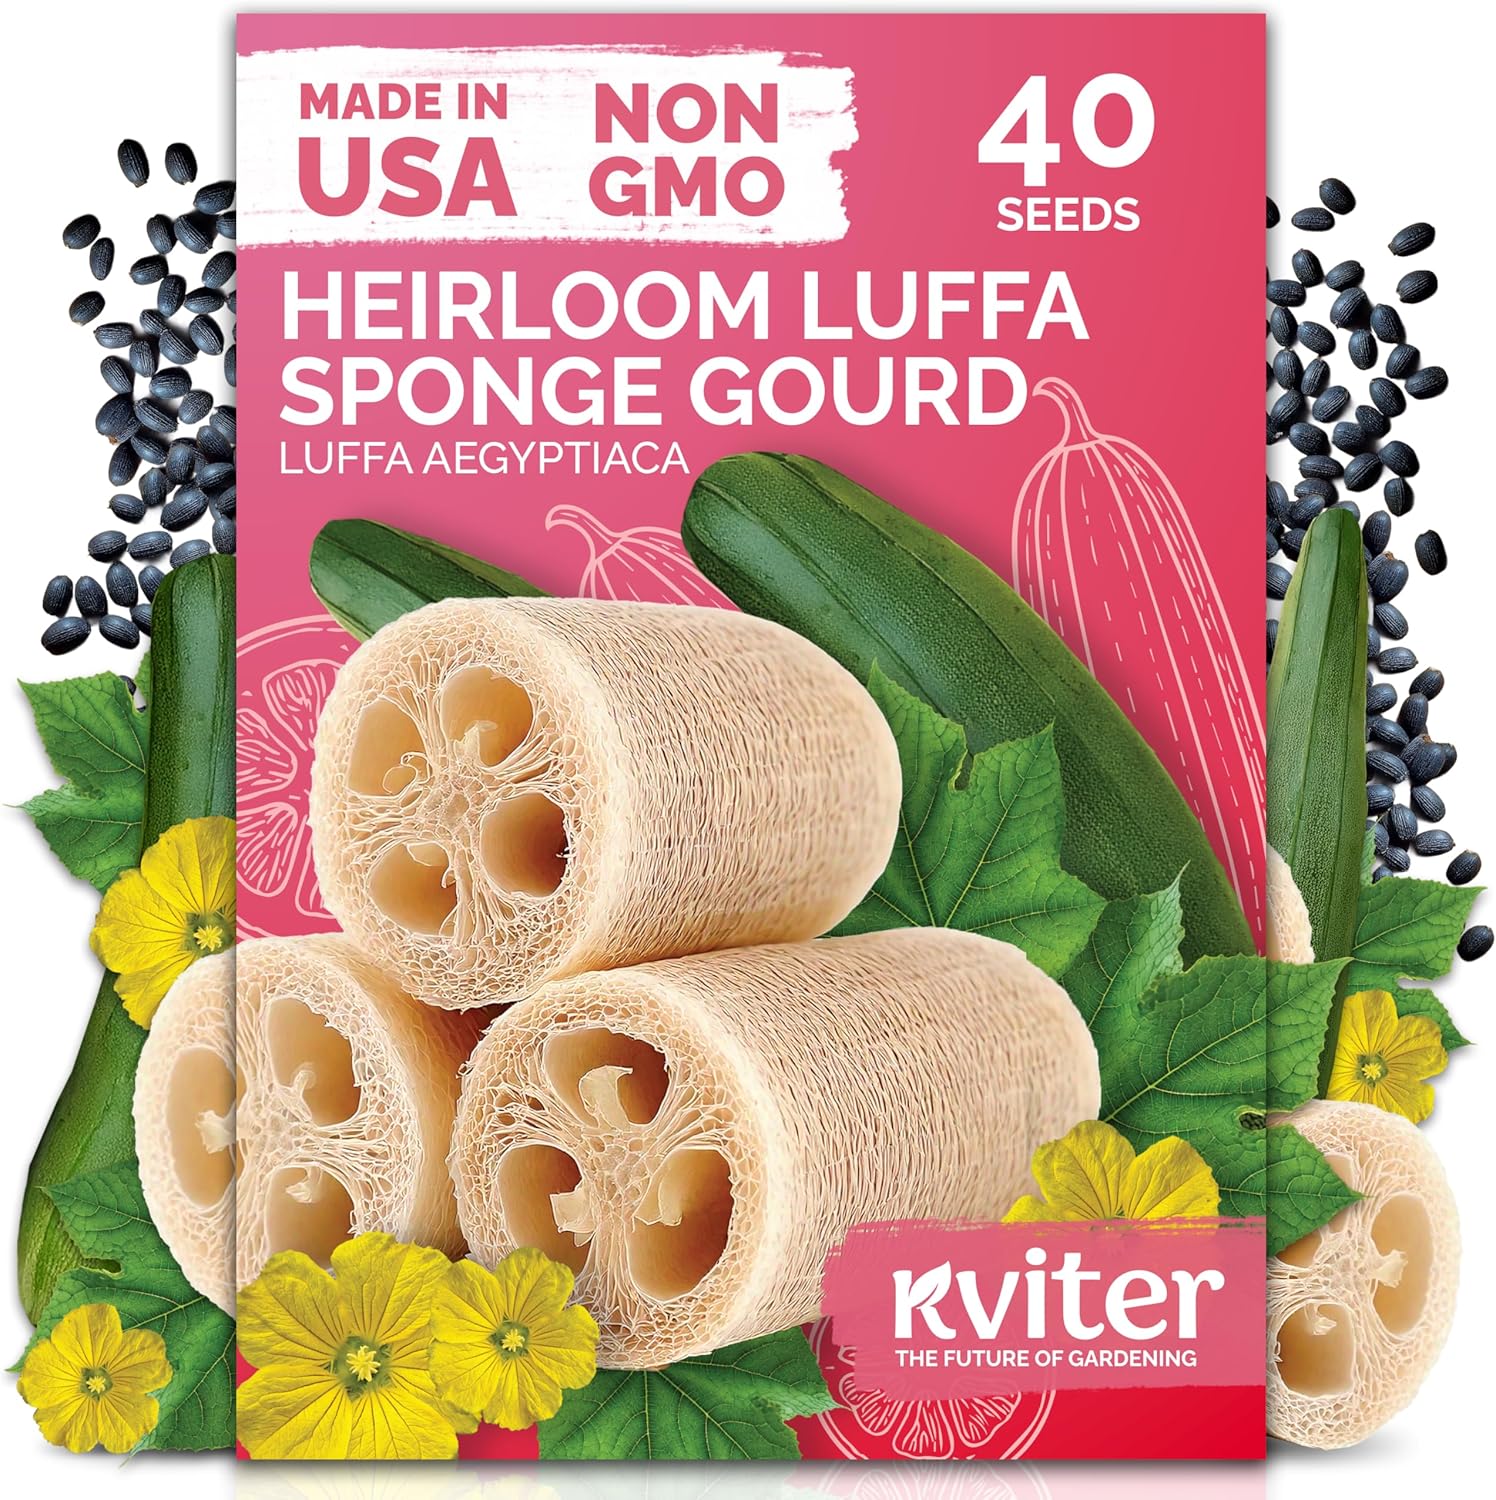
KVITER Heirloom Luffa Seeds (40 Count)
Fast-sprouting non-GMO seeds with 90%+ germination - grow your own natural sponges in one season
Buy on Amazon
BN-LINK Seedling Heat Mat for Faster Germination
Cuts loofah germination time in half - waterproof design maintains optimal 75-85°F soil temperature
Buy on AmazonAs an Amazon Associate, we earn from qualifying purchases.
The 5 Signs Your Loofah Is Ready to Harvest
Don't rely on just one indicator. Look for multiple signs to confirm ripeness:
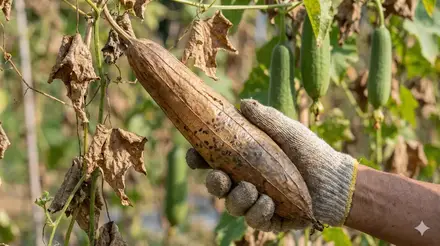
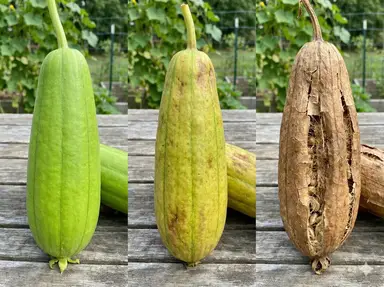
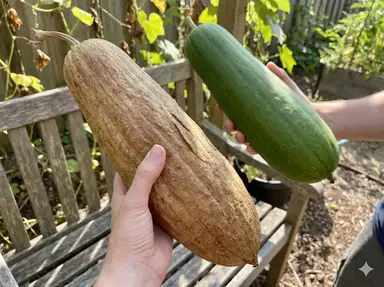
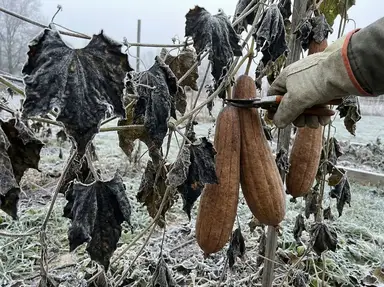
1. Color Change: Green to Yellow-Brown
The most obvious sign is color. Ripe loofah transitions from deep green to yellow, then tan or light brown. The color change typically starts at the stem end and progresses toward the tip.
Ready: Entire gourd is yellow to tan colored. Not ready: Any significant green remaining, especially at the tip.
2. Weight: Noticeably Lighter
As loofah matures, moisture evaporates from inside. A ripe gourd feels surprisingly light compared to its size. Pick it up—it should feel almost hollow.
Ready: Feels lightweight, almost airy for its size. Not ready: Still feels heavy or solid.
3. Sound: Seeds Rattle Inside
This is the most reliable test. Shake the gourd near your ear. When ripe, you'll hear loose seeds rattling inside the dried fiber chambers.
Ready: Clear rattling sound when shaken. Not ready: No sound, or dull thud.
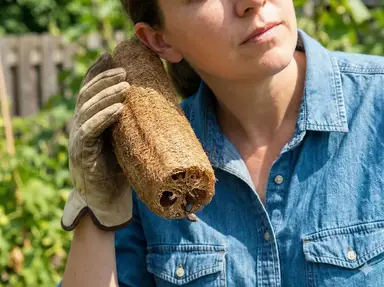
4. Skin Texture: Dry and Papery
The outer skin becomes thin, dry, and papery. It may crack or peel easily. Press gently—you should feel the firm fiber structure beneath, not soft flesh.
Ready: Skin feels papery, peels easily, fiber structure palpable. Not ready: Skin still thick or flesh still soft beneath.
5. Stem: Dried and Brown
The stem connecting the gourd to the vine dries out and turns brown. In fully ripe gourds, the stem may already be separating from the vine.
Ready: Stem is dried, brown, separating easily. Not ready: Stem still green and firmly attached.
Harvest Timing by Zone
Loofah takes 150-200 frost-free days to mature. Your planting zone determines approximate harvest timing:
- Zones 5-6: Late September - October. High frost risk. Harvest before frost; may need indoor finishing.
- Zone 7: October - November. Moderate frost risk. Watch forecasts; cover if frost threatens.
- Zone 8: October - December. Low frost risk. Let dry on vine until fully ripe.
- Zones 9-10: November - January. Very low frost risk. No rush; harvest at peak ripeness.
What Happens If You Harvest Too Early?
Harvesting immature loofah is the #1 mistake new growers make. The consequences:
- Soft, weak fiber: The sponge structure hasn't fully hardened
- Difficult peeling: Skin adheres tightly to undeveloped fiber
- Rapid deterioration: Immature sponges mold and fall apart quickly
- Poor scrubbing ability: Fiber lacks the firmness needed for exfoliation
Green Loofah Alternative
Young green loofah (under 6" long) makes a delicious vegetable—similar to zucchini but with a unique, slightly sweet flavor. If you accidentally pick one too early, don't waste it! See our cooking guide.
What Happens If You Harvest Too Late?
Waiting too long isn't as bad as harvesting early, but risks include:
- Frost damage: Frozen gourds become soft and unusable
- Mold development: Wet fall weather can cause mold inside the gourd
- Dark discoloration: Prolonged exposure darkens fiber from white to tan/brown
- Seed sprouting: In warm, wet conditions, seeds may germinate inside the gourd
If frost threatens and your loofah isn't quite ready, see the frost protection section below.
Protecting Loofah from Frost
For growers in colder climates, frost is the biggest harvest threat. Here's how to protect nearly-ripe gourds:
Cover When Frost Threatens
Use frost cloth, old sheets, or plastic tarps draped over vines. Cover in late afternoon before temperatures drop, and remove covers each morning to prevent moisture buildup. Even cardboard boxes over individual gourds help.
Harvest Before Hard Frost
Light frost (28-32°F) usually doesn't penetrate thick loofah walls. But hard frost (below 28°F) for more than a few hours damages gourds. If a hard freeze is coming:
- Harvest all gourds showing at least some color change
- Move gourds to a warm, dry indoor location
- Allow 2-4 weeks of additional drying time
- Results may be slightly inferior to vine-dried, but sponges will still be usable
Indoor Finishing Trick
If you must harvest loofah before fully ripe, hang gourds in a warm spot with good airflow (garage, attic, covered porch). A ceiling fan helps. They'll continue drying and can still produce decent sponges.
How to Harvest Loofah
Once you've confirmed ripeness, harvesting is simple:
Step 1: Cut the Stem. Use pruning shears or a sharp knife to cut the stem 1-2 inches above the gourd. Don't pull or twist—this can damage the fiber at the attachment point.
Step 2: Handle with Care. Ripe loofah is fragile. The dried skin can crack, and dents from rough handling show in the finished sponge. Carry gourds gently in a basket or bucket.
Step 3: Inspect for Damage. Check each gourd for soft spots, mold, or insect damage. Minor blemishes are fine—you can cut around them during processing. Significant rot means that gourd won't make a good sponge.
Step 4: Allow Final Drying. Even fully ripe loofah benefits from 1-2 weeks of additional drying before processing. Store in a dry, well-ventilated area out of direct sunlight. For detailed drying techniques, see our complete drying guide.
Storing Harvested Loofah Before Processing
Not ready to process immediately? Unpeeled loofah stores well:
- Location: Cool, dry area with good airflow
- Duration: Months or even years if fully dried
- Avoid: Damp basements, sealed containers, direct sunlight
- Check periodically: Watch for mold or pest damage
Some growers prefer to process immediately while others store gourds until they need sponges. Both approaches work fine with properly ripened loofah.
What's Next After Harvesting?
You've picked your loofah—now it's time to turn those gourds into usable sponges:
- Peel and process — Remove skin, extract seeds, rinse fiber
- Dry completely — Ensure sponges are bone dry before storage
- Bleach naturally — Optional whitening for aesthetic appeal
- Store properly — Keep sponges fresh until use
Don't forget to save seeds from your best gourds for next year's planting!