Your loofah sponge is an essential tool for exfoliation and skin care, but it can also become a breeding ground for bacteria, mold, and mildew if not properly cleaned. Studies show that loofahs can harbor millions of bacteria after just a few uses, making regular cleaning and sanitizing absolutely essential for healthy skin.
This comprehensive guide covers everything you need to know about loofah hygiene, from daily care routines to weekly deep cleaning methods. Whether you're using a homegrown natural loofah or a store-bought version, these techniques will keep your sponge clean and safe for use.
Why Cleaning Your Loofah Matters
Understanding why loofah cleaning is critical will motivate you to maintain a proper care routine. Natural loofahs and synthetic sponges both create the perfect environment for bacterial growth.
- Bacterial growth: Warm, moist environments encourage rapid multiplication of bacteria including E. coli and Pseudomonas
- Mold and mildew: Poor drying creates perfect conditions for fungal growth
- Skin infections: Using a contaminated loofah can cause folliculitis, rashes, and other skin problems
- Body odor: Bacteria transferred from dirty loofahs contribute to unpleasant smells
- Acne and breakouts: Bacteria and dead skin cells trapped in loofah fibers can worsen acne
Natural loofahs have unique advantages: their fibrous structure is naturally antimicrobial and they're completely biodegradable. However, this same fibrous texture can trap dead skin cells and soap residue, making thorough cleaning essential. Learn more about the skin benefits of loofah use when properly maintained.

Daily Care Routine
The most important aspect of loofah hygiene happens after every single use. This simple daily routine takes less than two minutes and dramatically extends the life of your loofah.
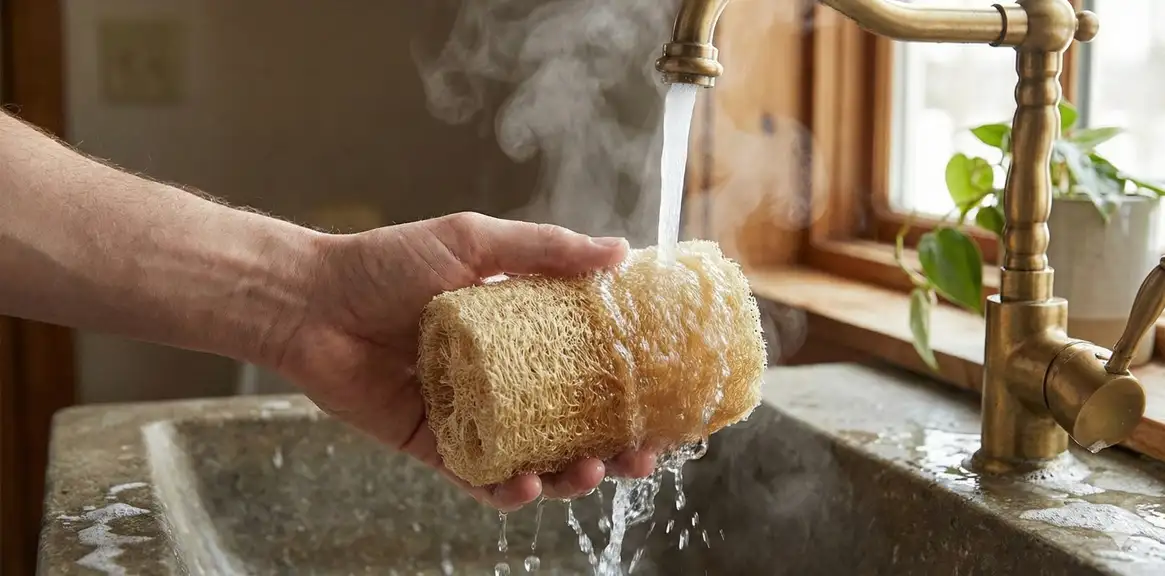
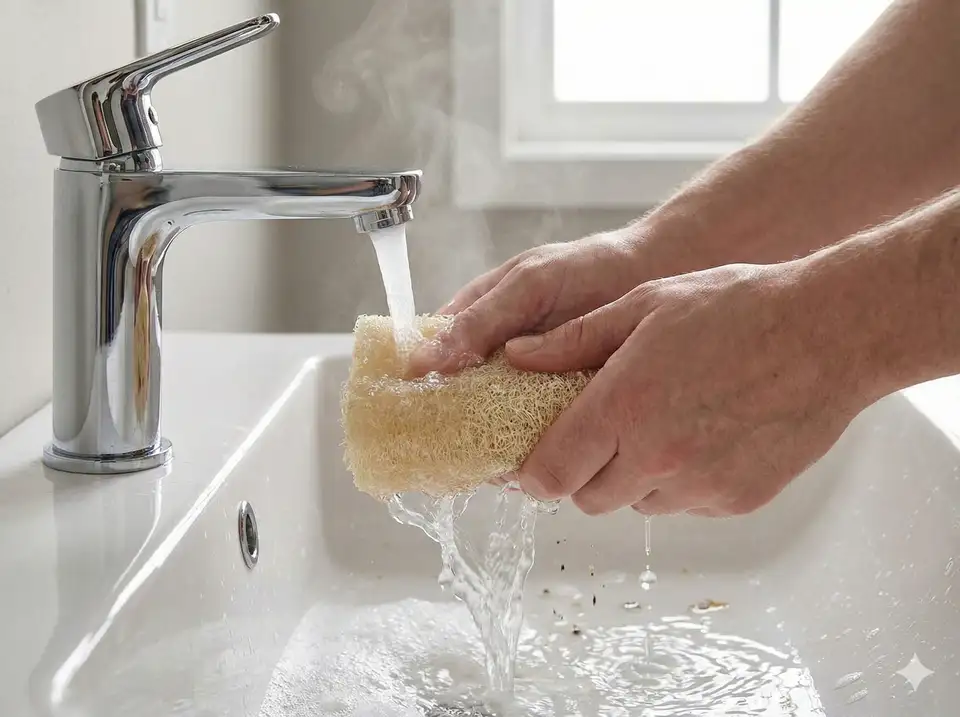
- Rinse thoroughly: Squeeze and rinse under hot running water until all soap and debris are removed
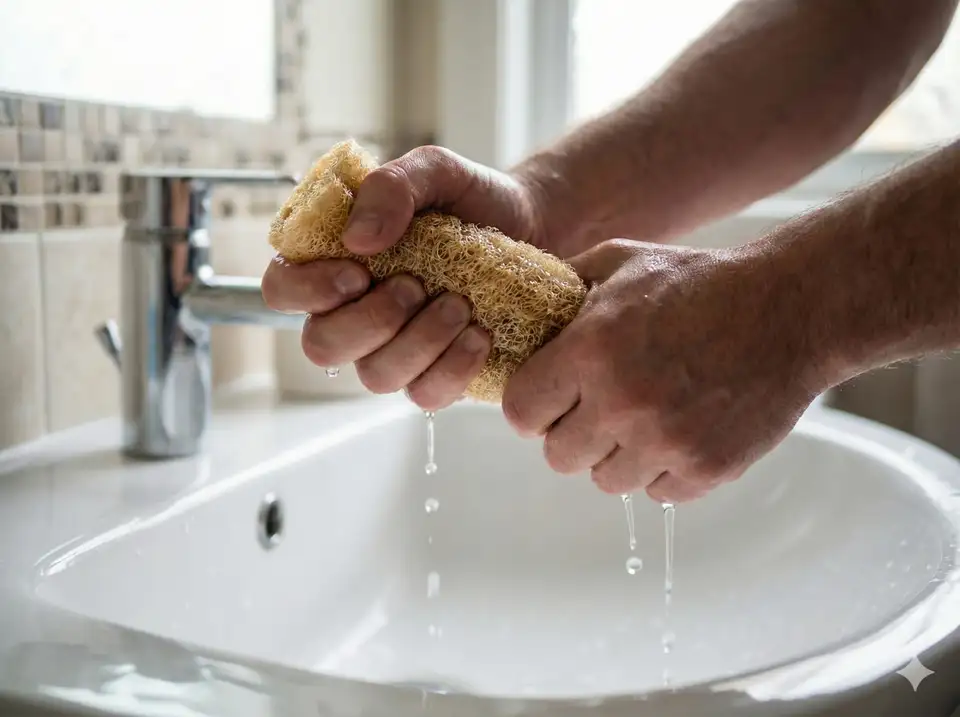
- Squeeze out excess water: Firmly compress the loofah multiple times to remove as much water as possible
- Shake vigorously: Shake the loofah to further dislodge water and debris
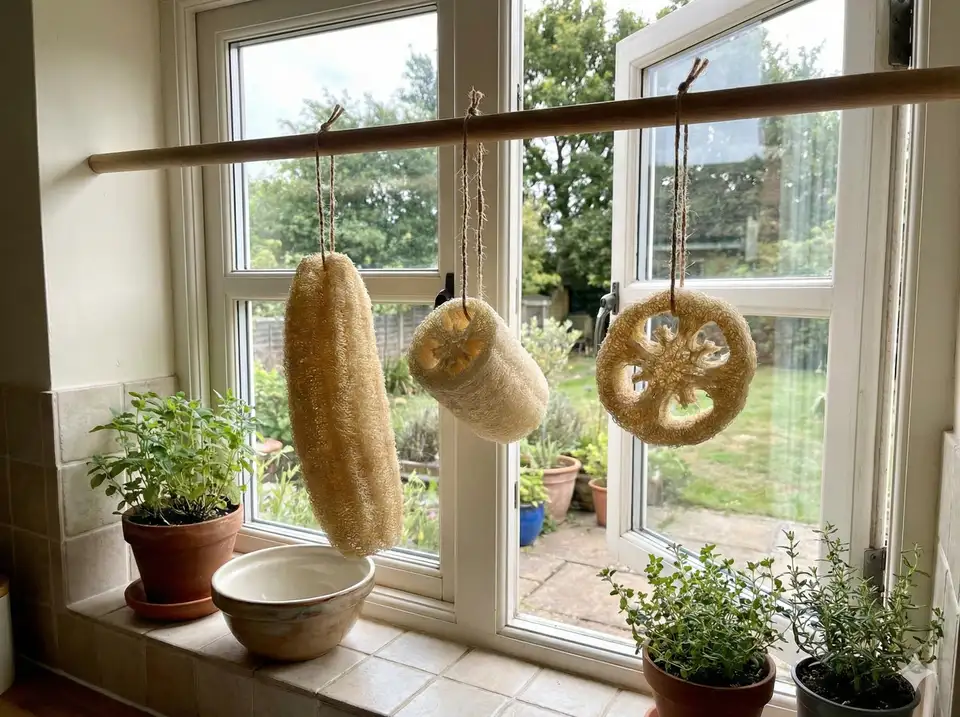
- Hang to dry: Store in a well-ventilated area where air can circulate around all sides
- Never leave wet: Don't leave your loofah in the shower or bath where it stays damp
- Air circulation is key: Hang in open air, not inside a closed shower
- Use a hook or rack: Suspend the loofah so air reaches all surfaces
- Sunlight exposure: If possible, dry in indirect sunlight (UV kills bacteria)
- Complete drying: Loofah should be completely dry before next use (4-6 hours minimum)
- Ventilation: Open bathroom windows or use exhaust fan to reduce humidity

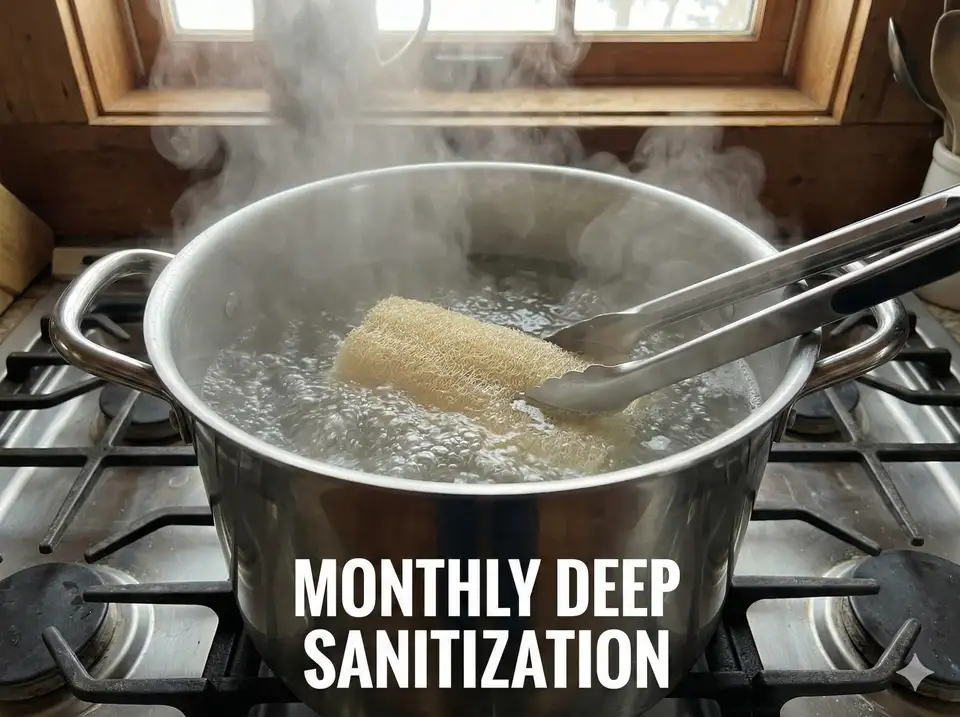
Weekly Deep Cleaning Methods
Even with excellent daily care, your loofah needs a weekly deep clean to eliminate bacteria and extend its usable life. Choose one of these sanitizing methods based on your preference and available supplies.
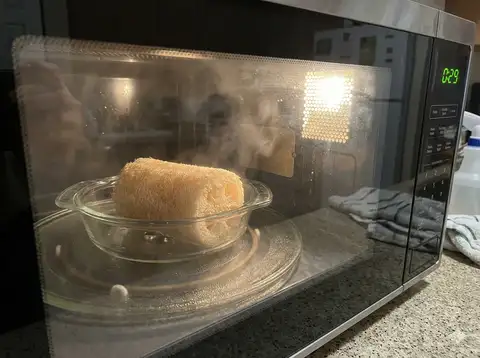
Microwave Sanitizing Method
The microwave method is one of the fastest and most effective ways to kill bacteria in your loofah. Heat destroys most microorganisms within 30-60 seconds.
Step-by-step instructions:
- Step 1: Rinse loofah thoroughly and squeeze out excess water
- Step 2: Soak loofah completely in clean water for 1 minute
- Step 3: Place wet loofah in microwave-safe bowl with 1 cup water
- Step 4: Microwave on high for 30 seconds (small loofah) or 60 seconds (large loofah)
- Step 5: Let cool completely before handling (loofah will be very hot)
- Step 6: Squeeze out excess water and hang to dry
Important: Never microwave a dry loofah - it can catch fire. Always ensure it's completely wet.
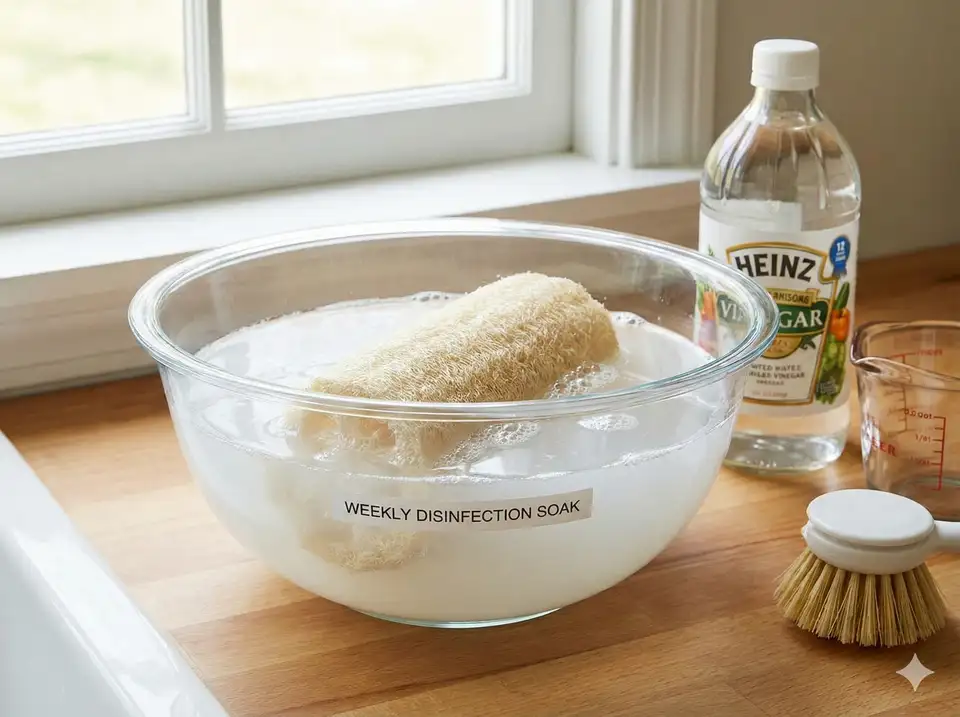
Vinegar Soak Method
White vinegar is a natural disinfectant and deodorizer that effectively kills bacteria and removes soap buildup without harsh chemicals.
Instructions:
- Step 1: Mix equal parts white vinegar and water in a bowl or bucket
- Step 2: Submerge loofah completely in solution
- Step 3: Soak for 5-10 minutes for regular cleaning, or 20 minutes for heavy sanitizing
- Step 4: Remove and rinse thoroughly with hot water
- Step 5: Squeeze out excess water and hang to dry
Benefits: Vinegar removes soap scum, kills bacteria, eliminates odors, and is eco-friendly. The vinegar smell dissipates as the loofah dries.
Diluted Bleach Solution Method
For maximum sanitization, a diluted bleach solution is the most powerful option. This method is especially useful for heavily soiled loofahs or those showing early signs of mold.
Instructions:
- Step 1: Mix 3/4 cup bleach per gallon of water (or 1 tablespoon bleach per quart)
- Step 2: Submerge loofah in solution for 5 minutes only
- Step 3: Remove and rinse extremely thoroughly with hot water (2-3 minutes)
- Step 4: Squeeze and rinse multiple times to remove all bleach
- Step 5: Hang to dry in well-ventilated area
Caution: Use bleach in a well-ventilated area. Never mix bleach with other cleaners. Use gloves. Don't soak longer than 5 minutes as bleach can degrade natural fibers over time.
Hydrogen Peroxide Method
Hydrogen peroxide (3% solution) is a gentler alternative to bleach that still provides excellent disinfection without harsh fumes.
Instructions:
- Step 1: Fill container with 3% hydrogen peroxide solution (undiluted from bottle)
- Step 2: Submerge loofah completely and soak for 10 minutes
- Step 3: Remove and rinse with warm water
- Step 4: Squeeze out excess liquid and hang to dry
Benefits: Kills bacteria and mold, bleaches stains, breaks down into water and oxygen (eco-friendly), no harsh fumes, gentle on natural loofah fibers.
Dishwasher Sanitizing (Optional)
If you have a dishwasher, you can sanitize your loofah alongside your dishes using the heated dry cycle.
- Placement: Place loofah on top rack of dishwasher
- Detergent: Run a normal cycle with regular dishwasher detergent
- Heat dry: Use the heated dry setting for maximum sanitization
- Frequency: Once weekly or every other week
- Best for: Natural loofahs hold up better than synthetic ones in dishwasher

Signs Your Loofah Needs Cleaning
Between your weekly deep cleans, watch for these warning signs that indicate your loofah needs immediate attention.
- Unpleasant odor: Musty, mildew smell indicates bacterial growth - deep clean immediately
- Discoloration: Dark spots, black specks, or unusual colors suggest mold growth
- Slimy texture: Film or sliminess means biofilm has formed - requires thorough sanitizing
- Doesn't dry completely: If loofah stays damp between uses, it needs better ventilation and cleaning
- Falling apart: Fraying, tearing, or disintegrating fibers mean it's time to replace your loofah
- Rough or scratchy: Soap buildup makes loofah harsh - needs deep cleaning to restore softness
Proper Storage Between Uses
Where and how you store your loofah is just as important as how you clean it. Proper storage prevents bacterial growth and extends loofah life.
- Hang, don't rest: Use a hook, suction cup, or mesh bag to suspend the loofah in air
- Outside the shower: Store in open bathroom area with good ventilation, not inside shower stall
- Away from water sources: Don't let loofah get splashed by sink or shower water between uses
- Good air circulation: Avoid storing in closed cabinets or drawers when wet
- Separate from other items: Don't let wet loofah touch towels, bath products, or other sponges
- Mesh storage bag: Breathable mesh allows air circulation while keeping loofah organized
When to Replace Your Loofah
Even with excellent cleaning and care, loofahs don't last forever. Natural plant fibers break down over time, and bacterial accumulation eventually becomes impossible to fully eliminate.
- Standard recommendation: Replace every 3-4 weeks with normal use
- Daily use: Replace every 2-3 weeks if you use your loofah daily
- Occasional use: Can last 6-8 weeks if used only 2-3 times weekly and properly maintained
- Immediate replacement: Replace immediately if you see mold, smell mildew, or notice disintegration
- After illness: Replace your loofah after recovering from skin infections or contagious illnesses
For detailed guidance, see our complete guide on when to replace your loofah.
Special Considerations
Body vs. Face Loofahs
If you use separate loofahs for your body and face, your facial loofah requires extra attention since facial skin is more sensitive and prone to breakouts.
- Clean after every use: Never skip the rinse and dry routine for face loofahs
- Deep clean twice weekly: Face loofahs need more frequent sanitizing
- Replace more often: Every 2-3 weeks maximum for facial use
- Never share: Face loofahs are personal items and shouldn't be shared
- Gentler methods preferred: Use vinegar or hydrogen peroxide instead of bleach for facial loofahs
Natural vs. Synthetic Loofah Care
While most cleaning methods work for both types, there are some differences to consider. Natural loofahs are more durable with heat and chemical sanitizing, while synthetic sponges may break down faster. Learn more about the differences between natural and synthetic loofahs.
Common Cleaning Mistakes to Avoid
- Leaving in the shower: Storing wet loofah in humid shower is the #1 cause of bacterial growth
- Using fabric softener: Fabric softener leaves residue that attracts bacteria - never use when washing loofahs
- Over-bleaching: Too-frequent bleach exposure breaks down natural fibers faster
- Not rinsing thoroughly: Soap residue provides food for bacteria to multiply
- Sharing loofahs: Never share loofahs between people - bacteria and skin conditions can transfer
- Using while damp: Using a loofah that hasn't fully dried promotes bacterial spread to your skin
- Ignoring odors: If your loofah smells, cleaning won't fully remove bacteria - replace it
Your Complete Loofah Care Routine
Here's a simple schedule to keep your loofah clean and safe:
- After every use: Rinse thoroughly, squeeze out water, shake, and hang to dry in ventilated area
- Before next use: Check that loofah is completely dry (wait longer if needed)
- Once weekly: Deep clean using one of the methods above (microwave, vinegar, bleach, or peroxide)
- Every 3-4 weeks: Replace with fresh loofah
- As needed: Clean immediately if you notice odor, discoloration, or sliminess
Consistency is key! Following this routine prevents problems before they start.
Eco-Friendly Disposal
When it's time to replace your loofah, natural loofahs offer a sustainable advantage over synthetic sponges. Natural loofahs are 100% biodegradable and can be composted.
- Home composting: Cut natural loofah into small pieces and add to compost bin
- Garden mulch: Chop up and use as biodegradable mulch around plants
- Fire starter: Dried loofah pieces make excellent natural fire starters
- Pet toys: Clean, undamaged sections can be repurposed for pet enrichment
- Cleaning rags: Use old loofahs for household scrubbing before composting
Want to ensure a sustainable supply? Consider growing your own loofahs at home. Homegrown loofahs are completely free of chemicals and give you fresh sponges whenever you need them.
Continue Learning About Loofah Care
Recommended Products
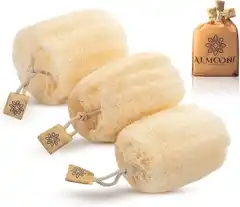
Almooni Egyptian Loofah Bath Sponges (3-Pack)
Premium thick-fiber natural loofahs - gentle exfoliation for all skin types - lasts 3-4 weeks each
Buy on Amazon
Natural Loofah Exfoliating Sponges (4-Pack)
100% organic biodegradable bath sponges - plastic-free alternative that's gentle on skin and planet
Buy on AmazonAs an Amazon Associate, we earn from qualifying purchases.